


Available from:
Aliexpress.com
Banggood.com
Install method:
USB to Serial
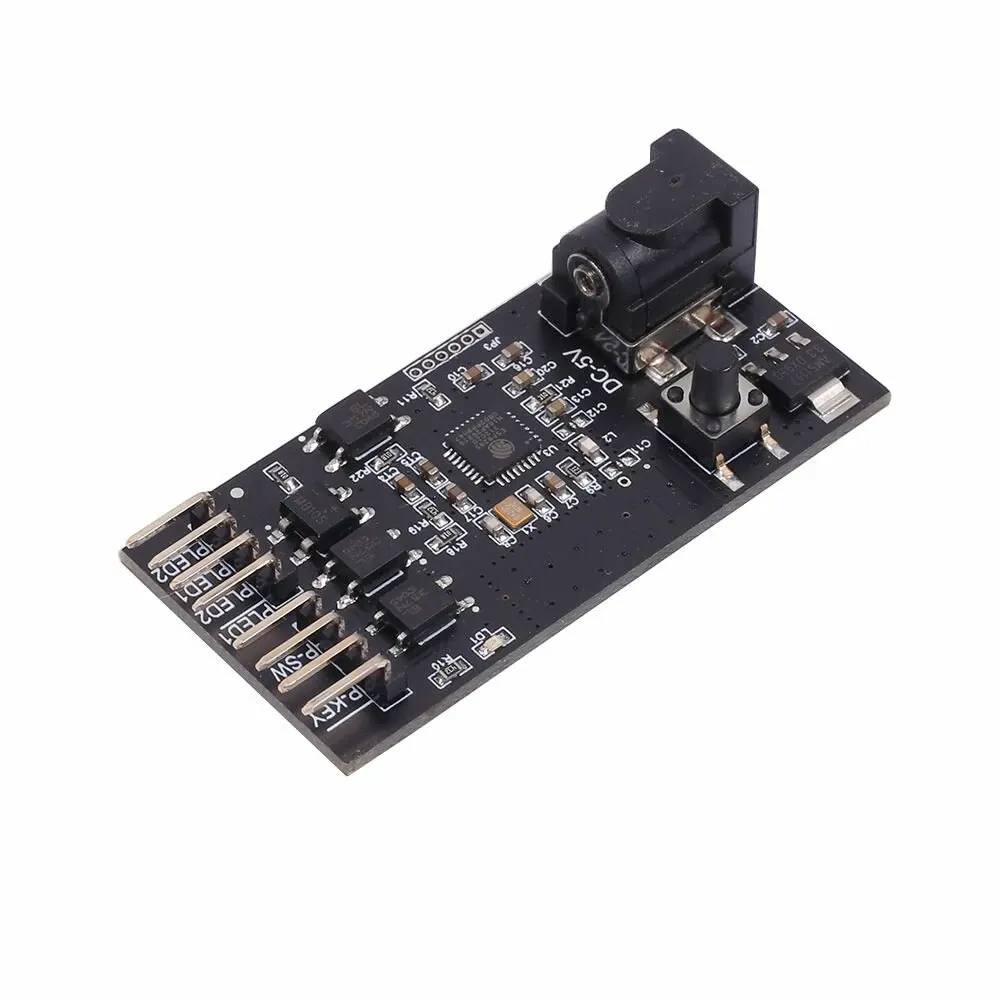
| GPIO # | Component |
|---|---|
| GPIO00 | None |
| GPIO01 | None |
| GPIO02 | Led_i 1 |
| GPIO03 | None |
| GPIO04 | None |
| GPIO05 | Relay 1 |
| GPIO09 | None |
| GPIO10 | Button 1 |
| GPIO12 | Switch 1 |
| GPIO13 | None |
| GPIO14 | None |
| GPIO15 | None |
| GPIO16 | None |
| GPIO17 | None |
{"NAME":"XY-WPCL","GPIO":[0,0,320,0,0,224,0,32,160,0,0,0,0,0],"FLAG":0,"BASE":18, "CMND":"SO114 1 | Pulsetime 10 | SwitchMode1 2"}It is possible to use solid core 24 AWG wires to make the connection without needing to solder them to the Sinilink board, but they may need soldering to a connector for the USB to serial adapter. Alternatively, you can strip some Ethernet Cat5e cable, which has the perfect diameter to fit in this board without soldering.

Configuration
The Relay must we toggle from off-on-off not lock on on state, mine stayed on long time triggering the shutdown the computer again by long press ‘power button’, that why i added “Pulsetime 10” (it’s my first time i don’t known if i doing it right but works)
For check if is powered the Switch1/binary sensor is used since the button will go back to off, remember computer power on is a push button.
In my case, the usb powered version, that binary version is related/detected with the ‘power led’ signal and works but not turn on/off the power led of my computer box, i not fix that yet since i don’t known how to fix, but it’s a minor problem compared with current template that not work.
Switch1 is detached and is used to monitor power status of the PC. It will be discovered as a binary sensor in Home Assistant.
See issue #1472 for Home Assistant YAML configuration