Available from:
Itead.cc
Domadoo.fr
Alza.de
Alza.de
Manufacturer:
Sonoff.tech
| GPIO # | Component |
|---|---|
| GPIO00 | None |
| GPIO01 | Serial Tx |
| GPIO02 | None |
| GPIO03 | Serial Rx |
| GPIO04 | None |
| GPIO05 | None |
| GPIO09 | None |
| GPIO10 | None |
| GPIO12 | None |
| GPIO13 | Led_i 1 |
| GPIO14 | None |
| GPIO15 | None |
| GPIO16 | None |
| GPIO17 | None |
{"NAME":"Sonoff L1 Lite","GPIO":[0,3200,0,3232,0,0,0,0,0,320,0,0,0,0],"FLAG":0,"BASE":70}BLAKADDER when buying from itead.cc for a 10% discount.
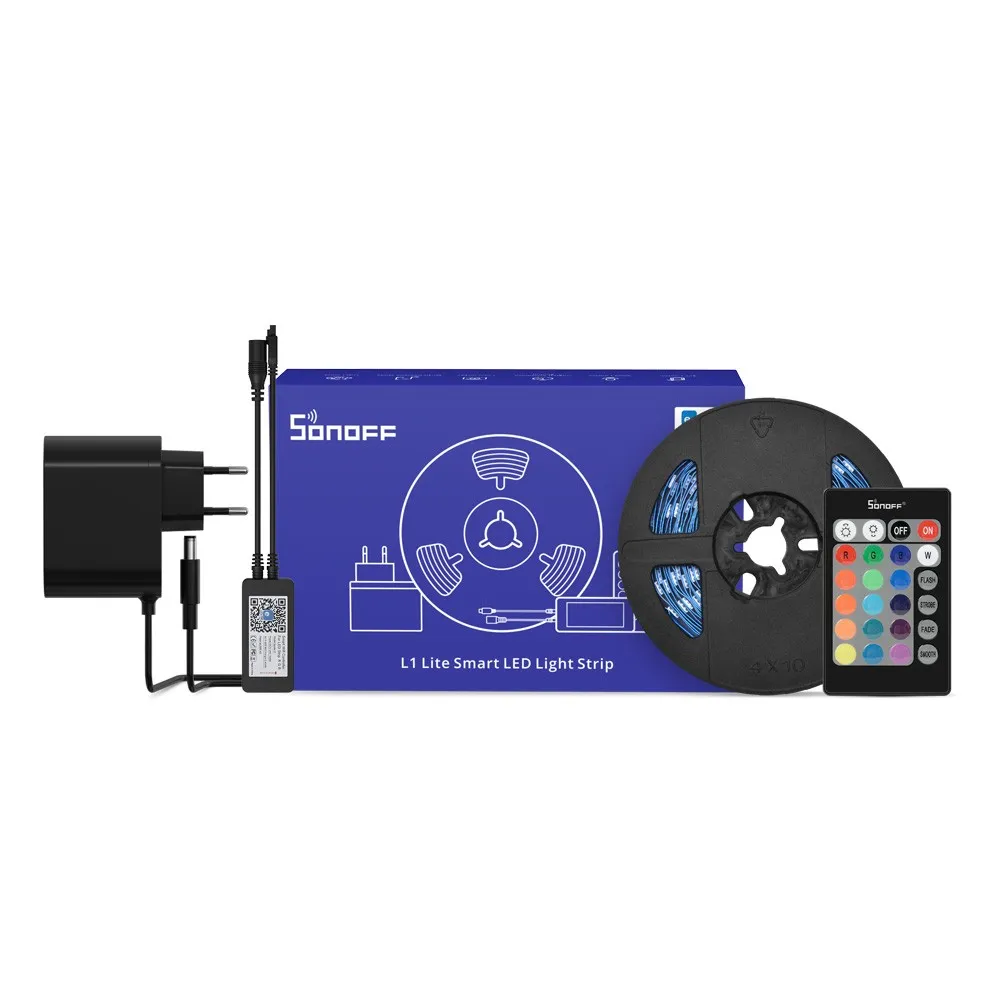
Sonoff L1 Lite uses the same “Spider Z” LED controller as Sonoff L1. The difference is that the provided 5050 RGB LED strip is only IP30 rated and there are no adapters for the power supply, instead you can choose between US and EU plugs. Those cuts made this strip more affordable.
Serial Flashing
As always, you need to access the serial interface. The four serial pins (3V3, Rx, Tx, GND) are available at the back of the PCB and can be easily identified.

Programming the Sonoff L1 is difficult because there is no on-board-button connected to GPIO0 and GND. As with all ESP8266 modules pulling GPIO0 to GND is needed to put the chip in programming mode. You need to connect GPIO0 and GND during power up.
GND can be found on at the back (same serial pin as you connect your serial programmer to). GPIO0 can be accessed with a small pin needle or wire, it is the second pin from the right. See picture below:


General remark
The controller housing indicates that the arrows of the LED strip and the housing should match, but arrows are not always visible. They need to be connected with both sides ‘up’:


