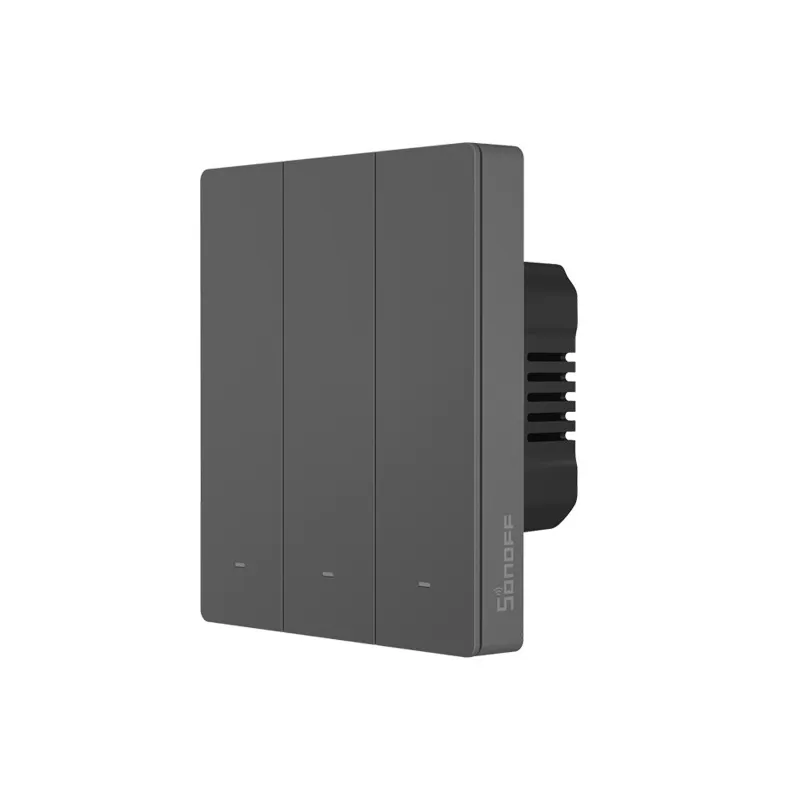
Available from:
Domadoo.fr
Aliexpress.com
Banggood.com
Manufacturer:
Itead.cc
Install method:
USB to Serial
| GPIO # | Component |
|---|---|
| GPIO00 | Button 2 |
| GPIO01 | None |
| GPIO02 | None |
| GPIO03 | None |
| GPIO04 | Button 1 |
| GPIO05 | LedLinki |
| GPIO09 | None |
| GPIO10 | None |
| GPIO12 | None |
| GPIO13 | None |
| GPIO14 | None |
| GPIO15 | Button 3 |
| GPIO16 | None |
| GPIO17 | None |
| GPIO18 | PWM 1 |
| GPIO19 | Relay 2 |
| GPIO20 | None |
| GPIO21 | None |
| GPIO22 | Relay 3 |
| GPIO23 | Relay 1 |
| GPIO24 | None |
| GPIO25 | None |
| GPIO26 | None |
| GPIO27 | None |
| GPIO6 | None |
| GPIO7 | None |
| GPIO8 | None |
| GPIO11 | None |
| GPIO32 | None |
| GPIO33 | None |
| GPIO34 | None |
| GPIO35 | None |
| GPIO36 | None |
| GPIO37 | None |
| GPIO38 | None |
| GPIO39 | None |
{"NAME":"Sonoff M5-3C","GPIO":[33,0,0,0,32,576,0,0,0,0,0,34,0,0,416,225,0,0,226,224,0,0,0,0,0,0,0,0,0,0,0,0,0,0,0,0],"FLAG":0,"BASE":1}BLAKADDER when buying from itead.cc for a 10% discount.
To replicated original firmware behaviour, the red LEDs are configured as a PWM light and are controlled using Power4 and the dimmer slider.
LEDs that turn on with the relay cannot be controlled separately.
The new white M5-3C-80/86W switch is Matter certified and thus have a locked bootloader. Be aware that you can’t flash the firmware on it, you would need to solder another esp32 to use tasmota with it. Source: Home Assistant Forum
Serial Flashing
Unclip the panel from the base. Remove two bottom screws and lift the plastic cover. Pull out the PCB by releasing the 4 clips holding it.
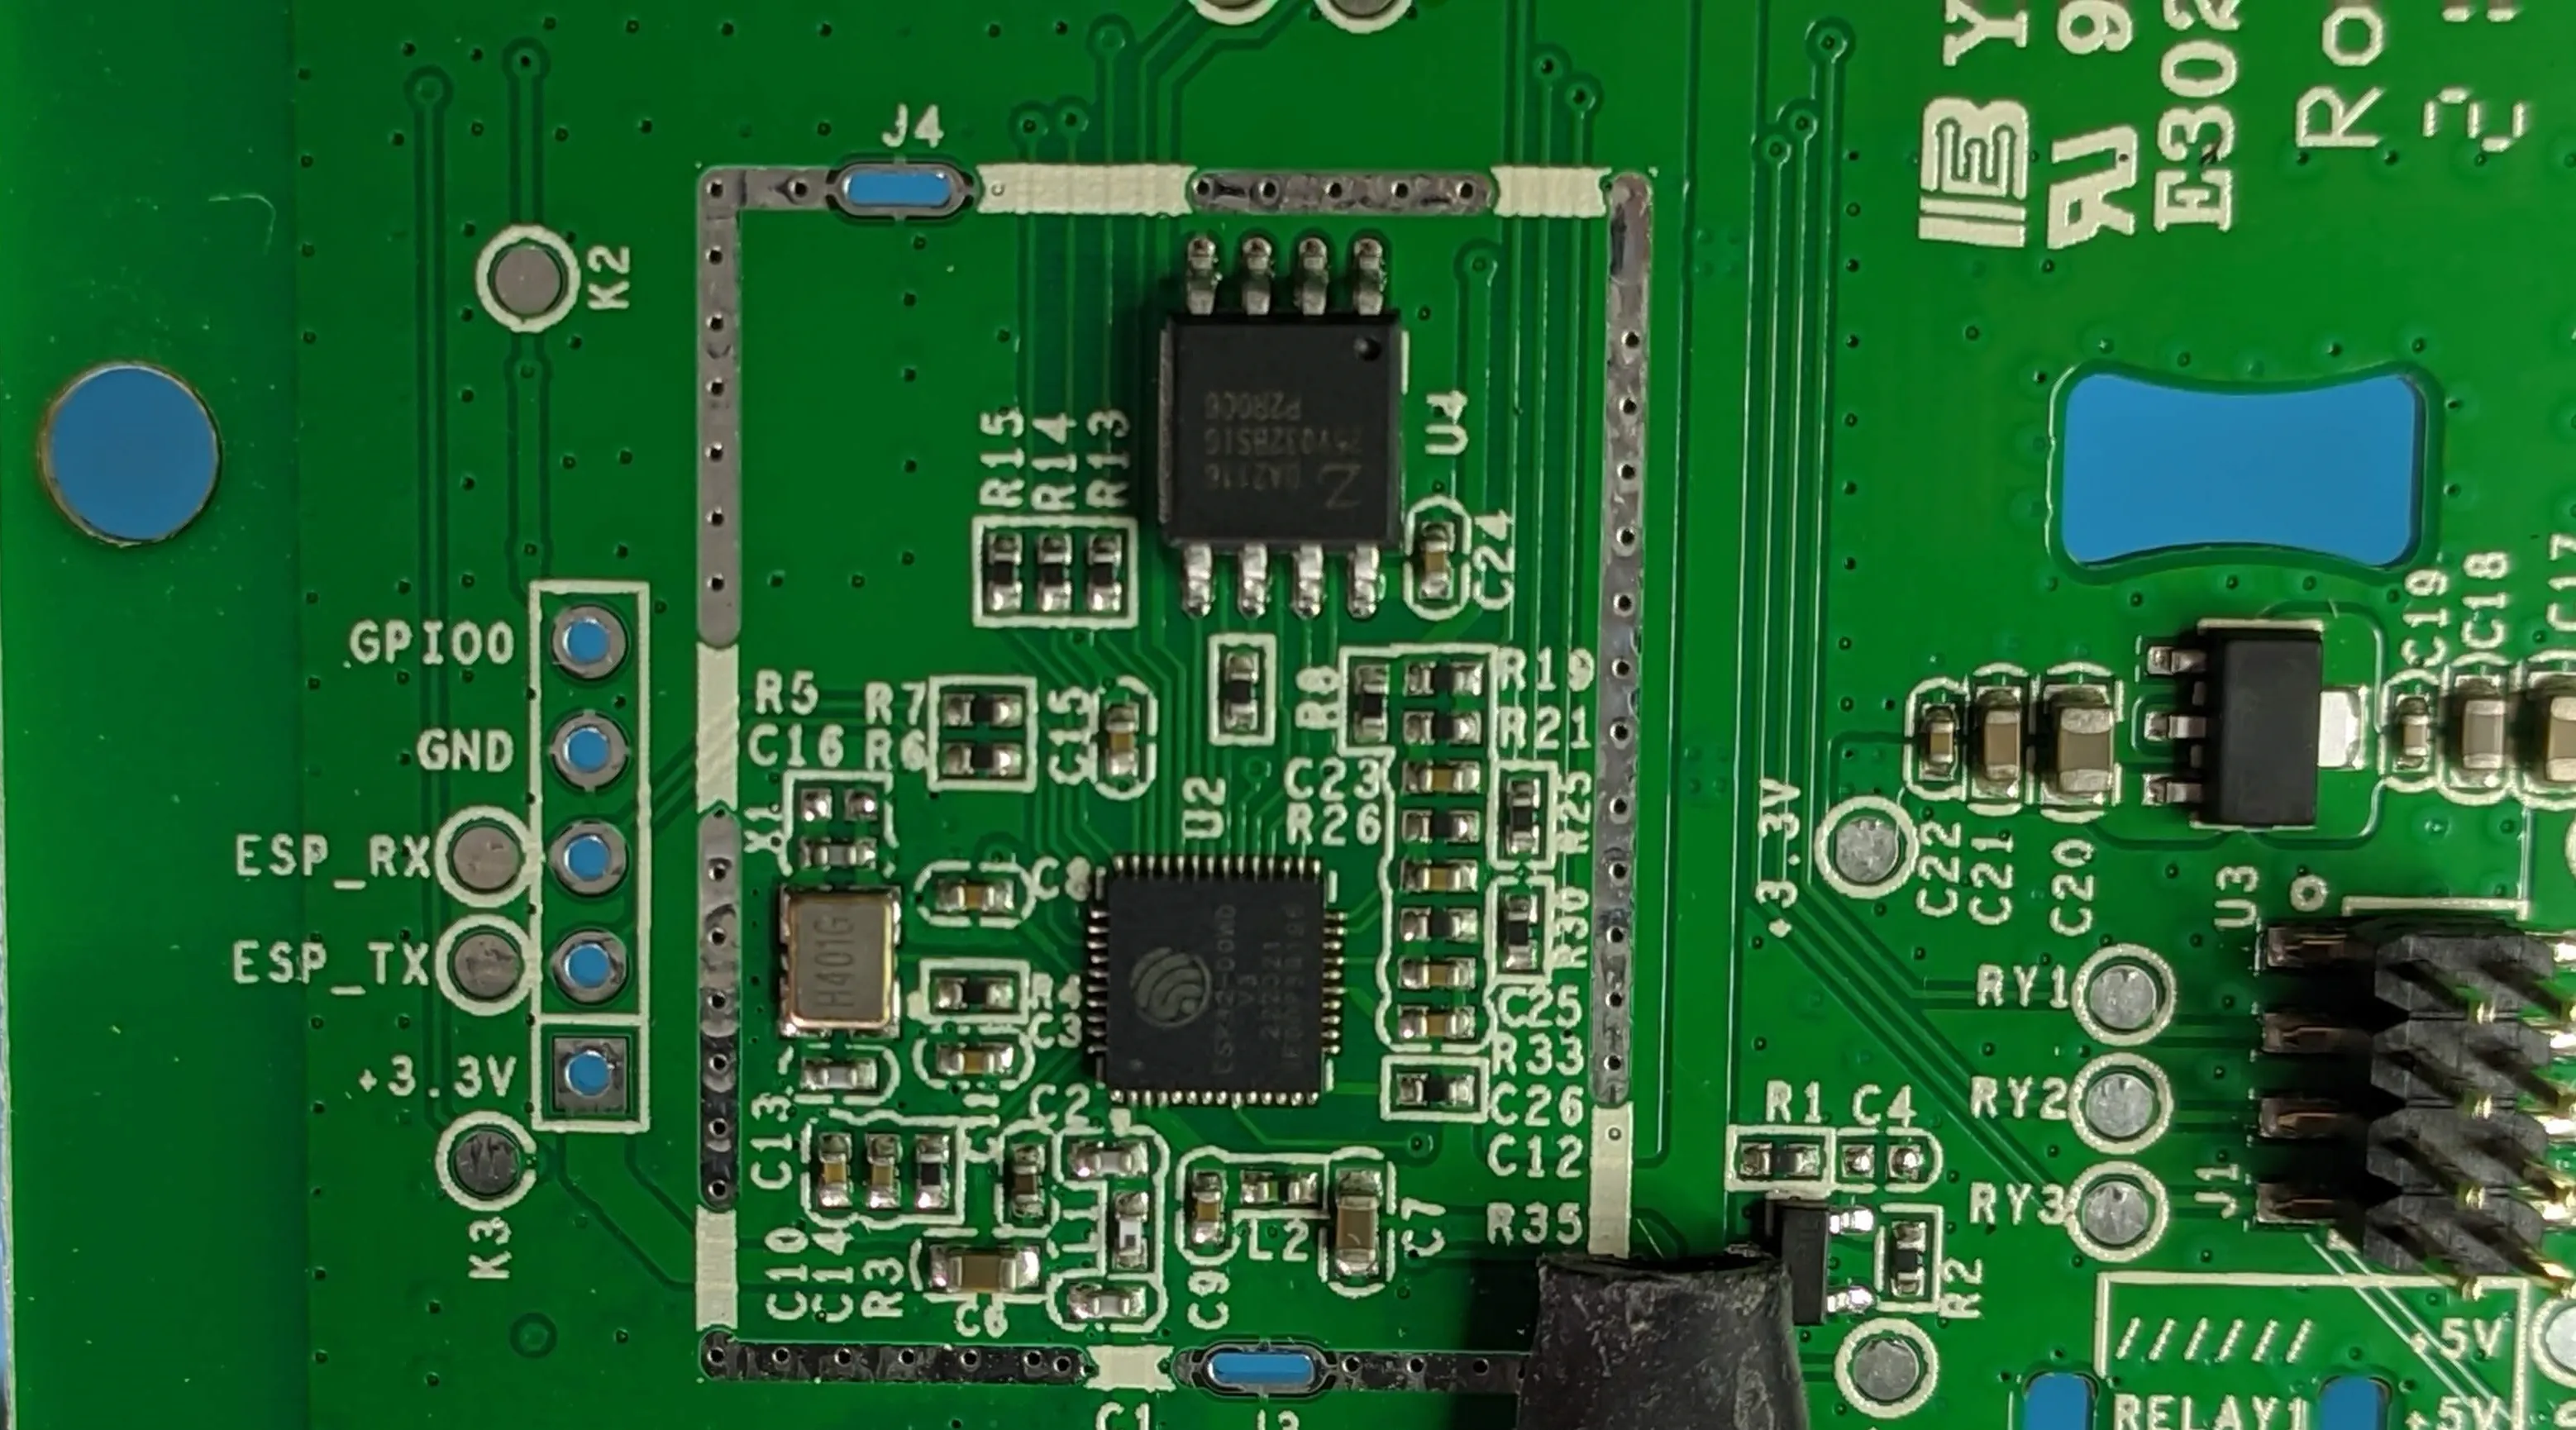
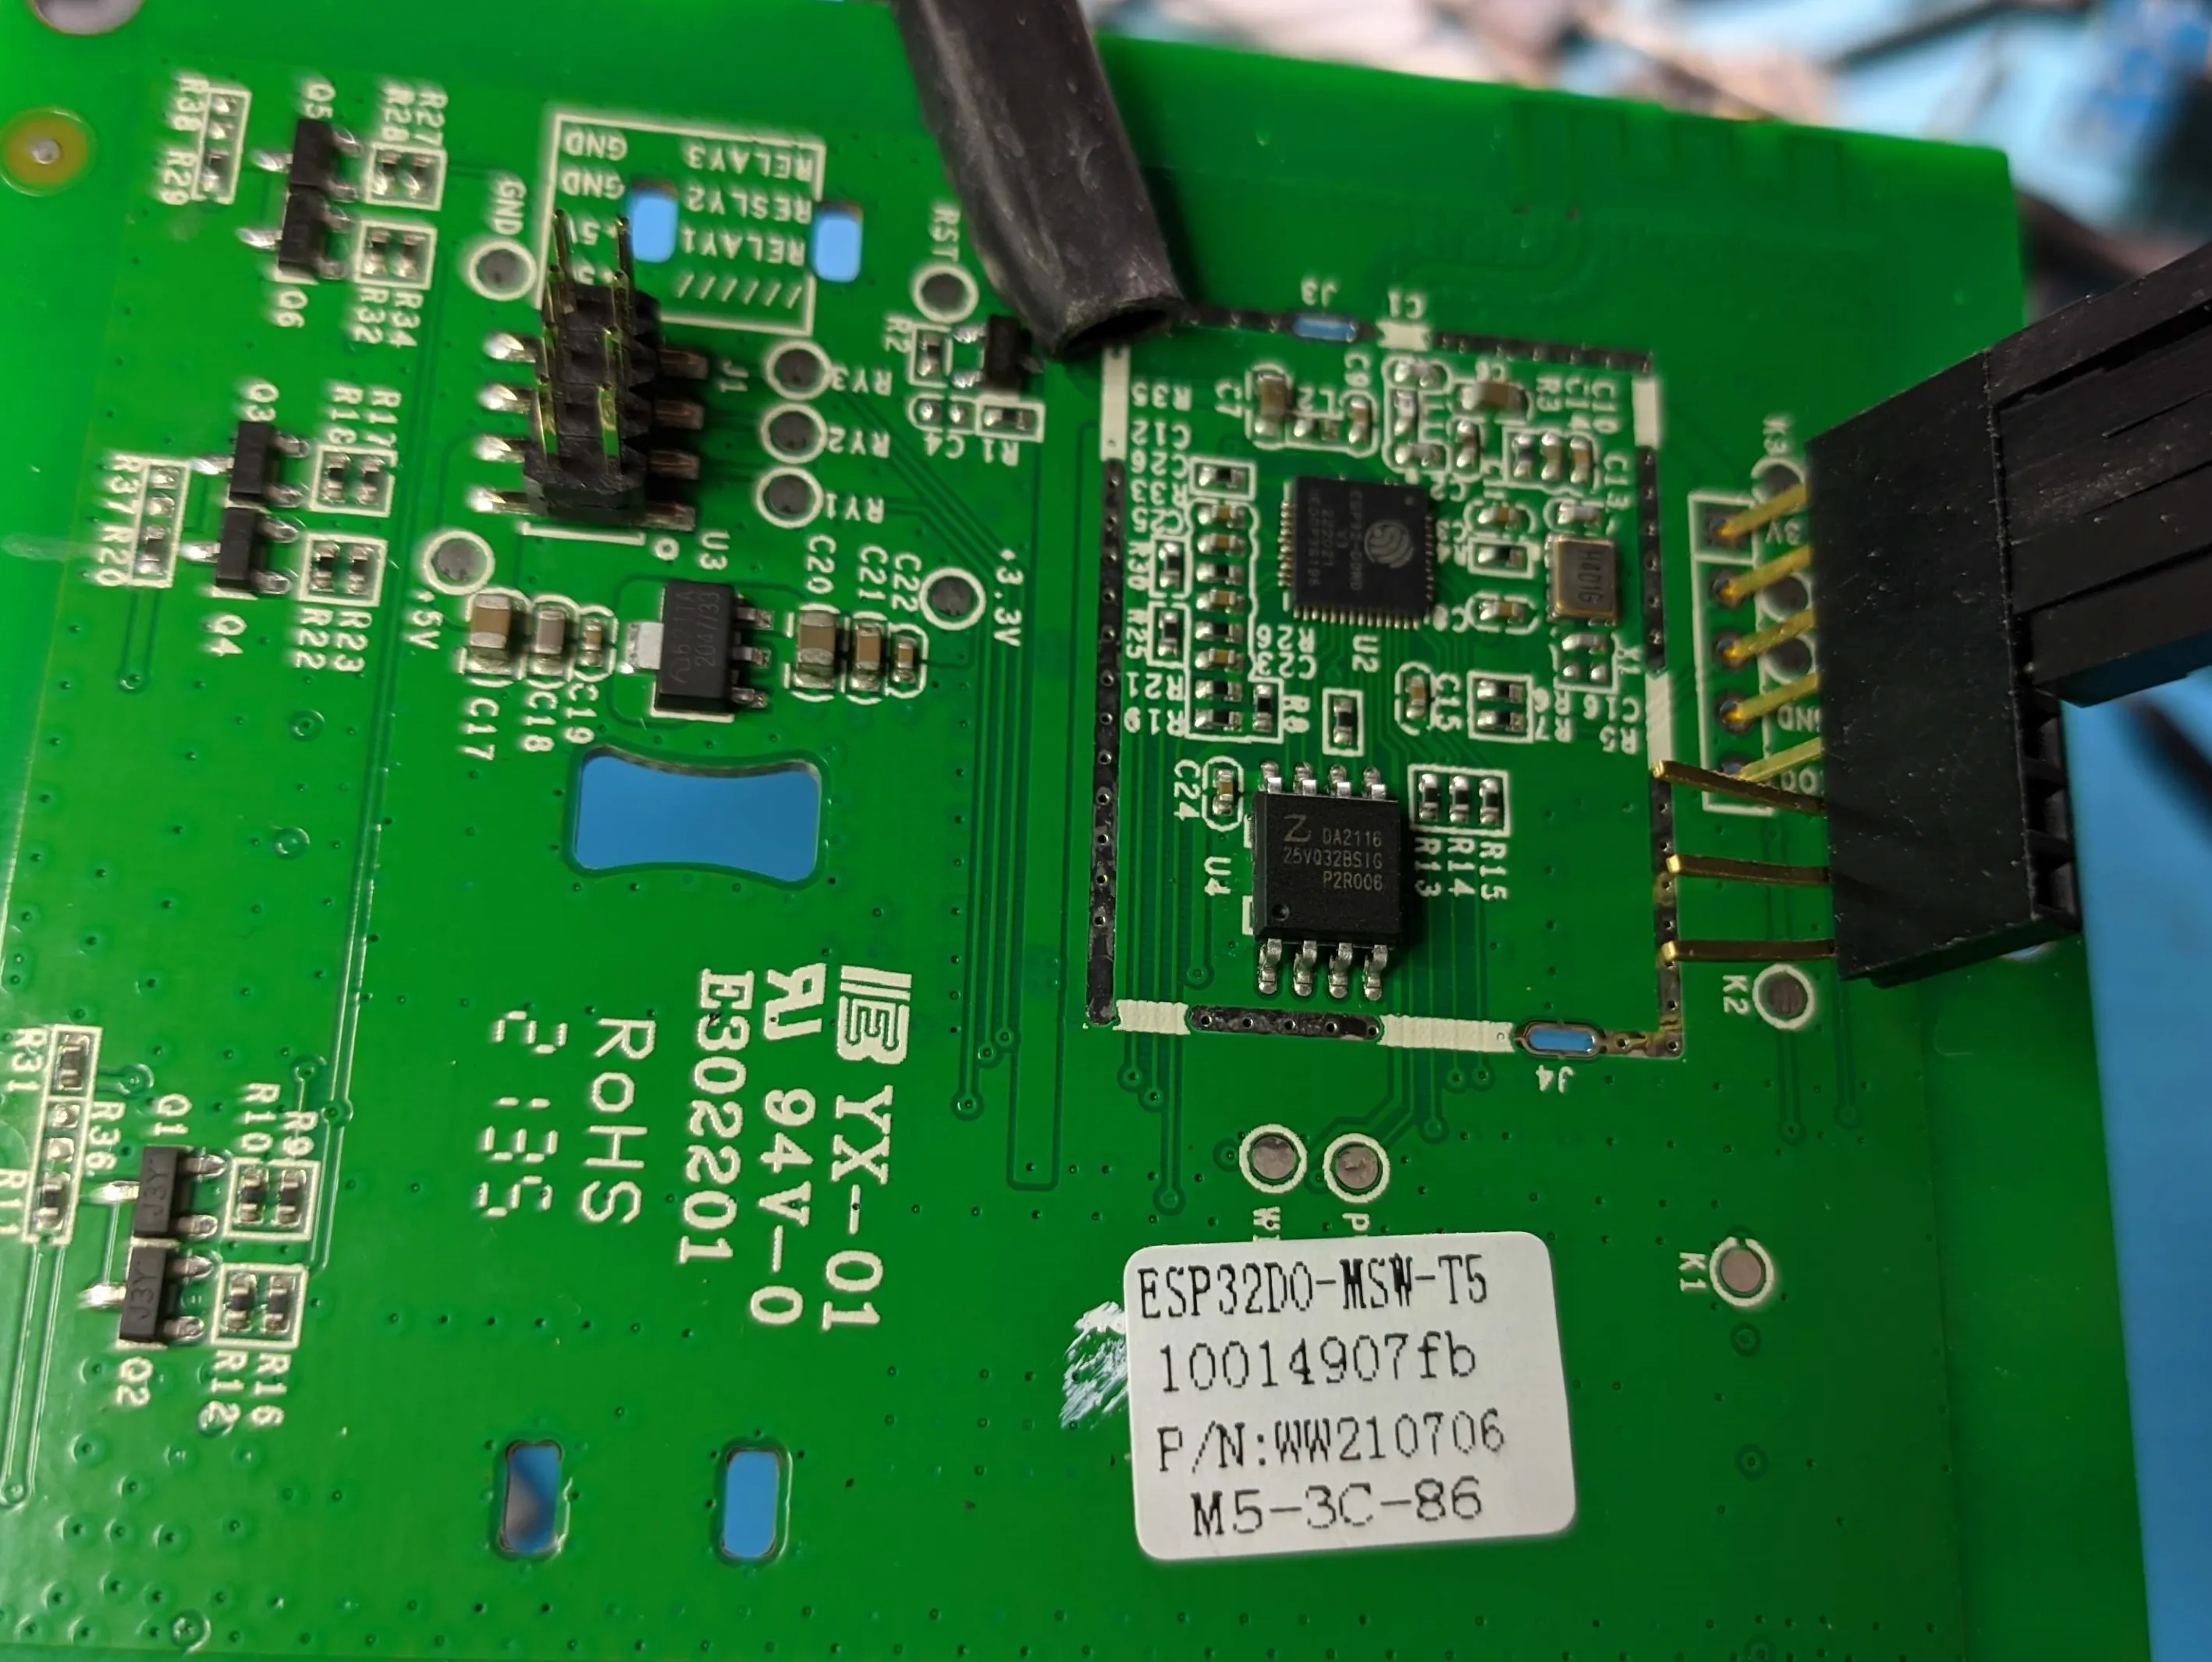
The five needed pins (3V3, RX, TX, GPIO0 and GND) can be easily identified.

After the flash is complete disconnect the 3.3V power and power the touch plate using its base.
It is not needed to solder the wires, just use header pins and make sure there’s contact by applying some pressure.


