


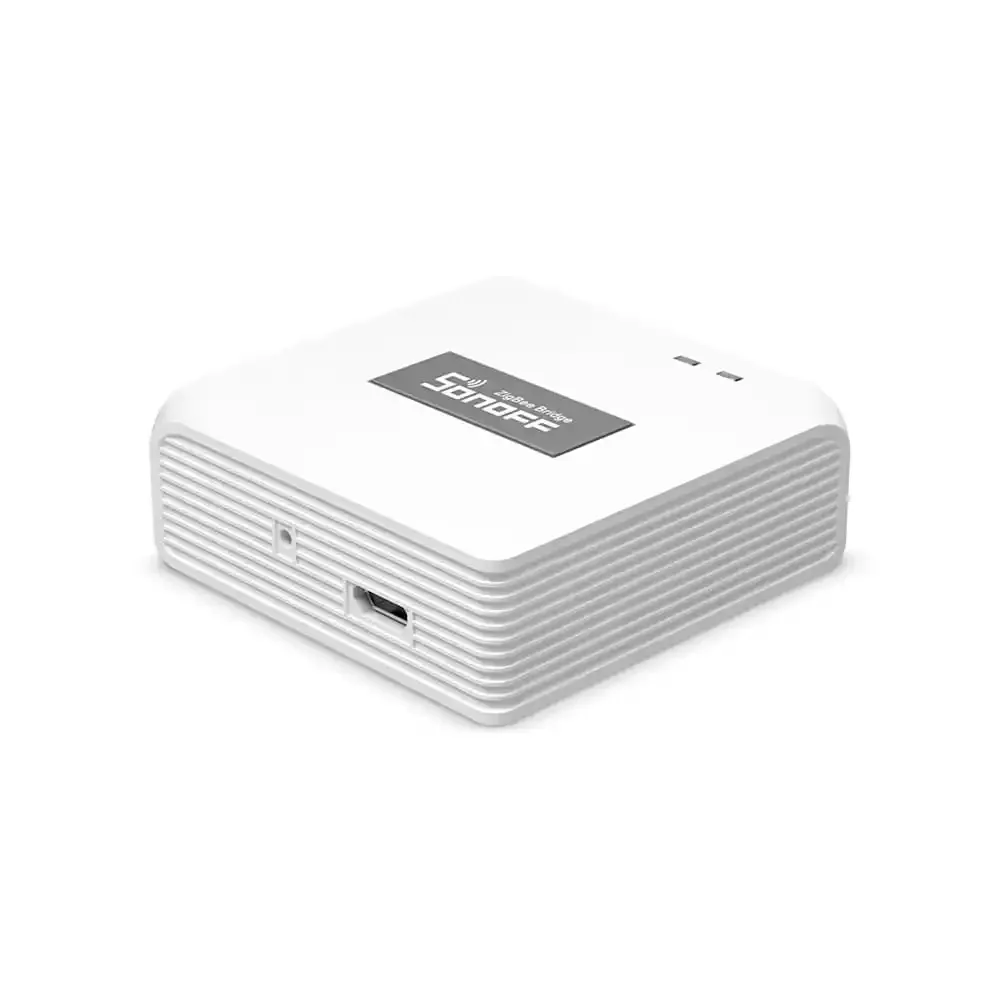
Sonoff ZBBridge Pro Zigbee Gateway (ZBBridge-P)
Available from:
Itead.cc
Aliexpress.com
Manufacturer:
Sonoff.tech
Install method:
USB to Serial
| GPIO # | Component |
|---|---|
| GPIO00 | None |
| GPIO01 | None |
| GPIO02 | LedLinki |
| GPIO03 | None |
| GPIO04 | Buzzer |
| GPIO05 | None |
| GPIO09 | None |
| GPIO10 | None |
| GPIO12 | None |
| GPIO13 | User |
| GPIO14 | User |
| GPIO15 | Zigbee RST 1 |
| GPIO16 | None |
| GPIO17 | None |
| GPIO18 | None |
| GPIO19 | Zigbee Tx |
| GPIO20 | None |
| GPIO21 | Led_i 1 |
| GPIO22 | Zigbee RST 2 |
| GPIO23 | Zigbee Rx |
| GPIO24 | None |
| GPIO25 | I2C SDA 1 |
| GPIO26 | I2C SCL 1 |
| GPIO27 | Button 1 |
| GPIO6 | None |
| GPIO7 | None |
| GPIO8 | None |
| GPIO11 | None |
| GPIO32 | None |
| GPIO33 | User |
| GPIO34 | None |
| GPIO35 | None |
| GPIO36 | None |
| GPIO37 | None |
| GPIO38 | None |
| GPIO39 | None |
Configuration for ESP32
{"NAME":"Sonoff Zigbee Pro","GPIO":[0,0,576,0,480,0,0,0,0,1,1,5792,0,0,0,3552,0,320,5793,3584,0,640,608,32,0,0,0,0,0,1,0,0,0,0,0,0],"FLAG":0,"BASE":1}
Use code
For esptool.py download f.e.
The device will restart and will be automagically configured.
BLAKADDER when buying from itead.cc for a 10% discount.
Flashing
Flash using Tasmota Web Installer and select tasmota32-zbbrdgpro option.For esptool.py download f.e.
tasmota32-zbbrdgpro.factory.bin
and run esptool.py write_flash 0x0 tasmota32-zbbrdgpro.factory.bin.
Auto-configuration
After flashing Tasmota, open the web UI of the device and navigate to Configuration -> Auto-configuration. Select your device from the drop-down and click Apply Configuration.The device will restart and will be automagically configured.
ZHA/Zigbee2MQTT instructions on the Zigbee site