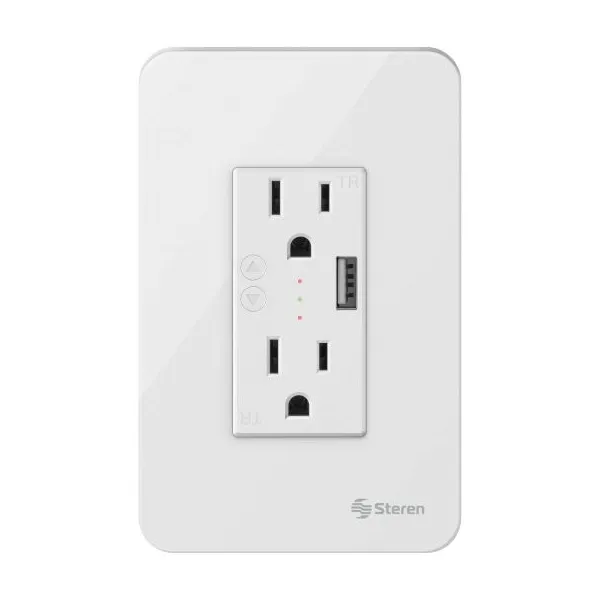
Available from:
Steren.com.mx
Manufacturer:
Steren.com.mx
Install method:
USB to Serial
| GPIO # | Component |
|---|---|
| GPIO00 | None |
| GPIO01 | LedLinki |
| GPIO02 | None |
| GPIO03 | Button 1 |
| GPIO04 | Button 2 |
| GPIO05 | Led 1 |
| GPIO09 | None |
| GPIO10 | None |
| GPIO12 | Relay 1 |
| GPIO13 | Relay 2 |
| GPIO14 | Led 2 |
| GPIO15 | None |
| GPIO16 | None |
| GPIO17 | None |
{"NAME":"Steren_SHOME-118","GPIO":[0,576,0,32,33,288,0,0,224,225,289,0,0,0],"FLAG":0,"BASE":18}Disconnect from mains power.
Remove the front plastic cover, then completely remove the screws used to connect to mains power and ground.
Then remove the back plastic cover, you will have to remove 4 screws that are on the corners of the board, that will give you access to the smaller board that is hidden in the front.
Remove the two screws and release the board carefully since it is connected to the other PCB by some female pins. after you remove that board, you’ll have better access to the TYWE2S chip.
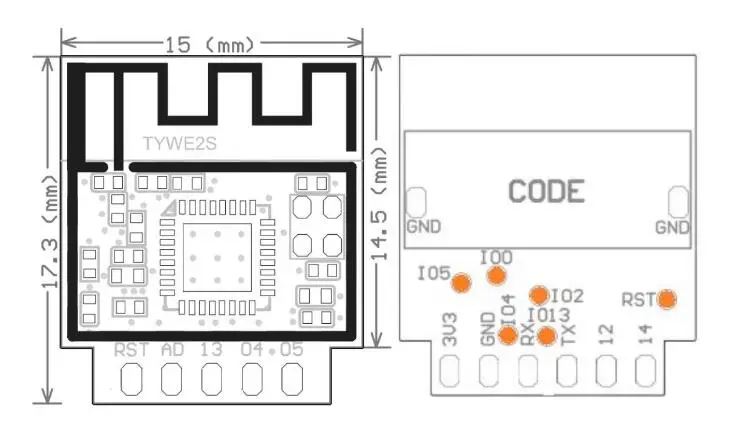
Solder wires (or hold some dupont cables) to the 3v, GND, RX, TX, and IO0 (GPIO0) you can do this from the bottom of the board they are in that order when looked from the back of the chip.
Then proceed to flash through serial using a USB-TTL converter and your desired Tasmota flashing software.
Pinout
 .
.


