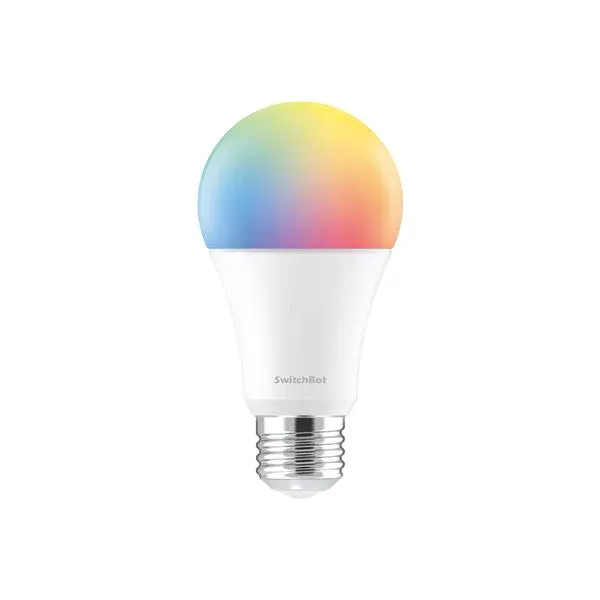
SwitchBot Color 10W 800lm RGBCCT Bulb (W1401400)

Available from:
Amazon.com
Manufacturer:
Switch-bot.com
Install method:
SwitchbOTA
| GPIO # | Component |
|---|---|
| GPIO00 | None |
| GPIO01 | None |
| GPIO02 | None |
| GPIO03 | None |
| GPIO04 | SM2335 Dat |
| GPIO05 | SM2335 Clk |
| GPIO06 | None |
| GPIO07 | None |
| GPIO08 | None |
| GPIO09 | None |
| GPIO10 | None |
| GPIO12 | None |
| GPIO13 | None |
| GPIO18 | None |
| GPIO19 | None |
| GPIO20 | None |
| GPIO21 | None |
Configuration for ESP32-C3
{"NAME":"Switchbot W1401400","GPIO":[0,0,0,0,9128,9088,0,0,0,0,0,0,0,0,0,0,0,0,0,0,0,0],"FLAG":0,"BASE":1,"CMND":"SetOption37 25"}
Can be flashed over-the-air with SwitchbOTA.
Disassembly
Remove the plastic diffuser. Scrape out the thermal glue holding the LED PCB and lift the PCB up to gain access to the ESP32-C3 module with labelled flashing pads.
Flashing
Flash using Tasmota Web Installer and select Tasmota ESP32-C3 option.
For esptool.py download f.e. tasmota32c3.factory.bin and run esptool.py write_flash 0x0 tasmota32c3.factory.bin
To put ESP32-C3 in flash mode GPIO8 needs to be pulled high and GPIO9 pulled low.


