


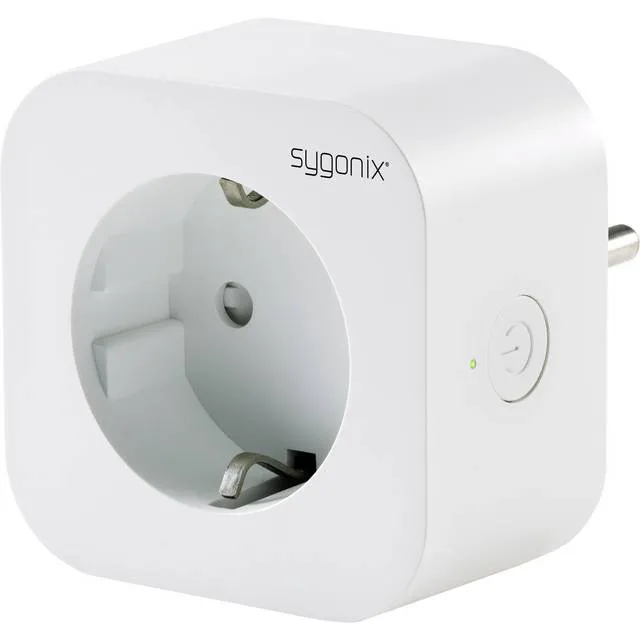
Available from:
Conrad.de
Install method:
USB to Serial
| GPIO # | Component |
|---|---|
| GPIO00 | None |
| GPIO01 | None |
| GPIO02 | None |
| GPIO03 | Button1 |
| GPIO04 | HLW8012 CF |
| GPIO05 | HLWBL CF1 |
| GPIO09 | None |
| GPIO10 | None |
| GPIO12 | HLWBL SELi |
| GPIO13 | Led1 |
| GPIO14 | Relay1 |
| GPIO15 | None |
| GPIO16 | None |
| FLAG | None |
{"NAME":"SYGONIX","GPIO":[0,0,0,17,133,132,0,0,131,52,21,0,0],"FLAG":0,"BASE":18}2021-10-03 Update
The firmware of the device sold by Conrad is not OTA Flashable, you need to disassemble the device and flash over serial.
Disassembling & Flashing instructions
The two halves of the plug are glued together, it’s easier to use a precision knife (or a scalpel) to create a gap between the seams. Then push a flathead screwdriver and release the plastic clips holding the two sides together.
Note: Some more advanced soldering skills and steady hands needed or you might tear off the pads
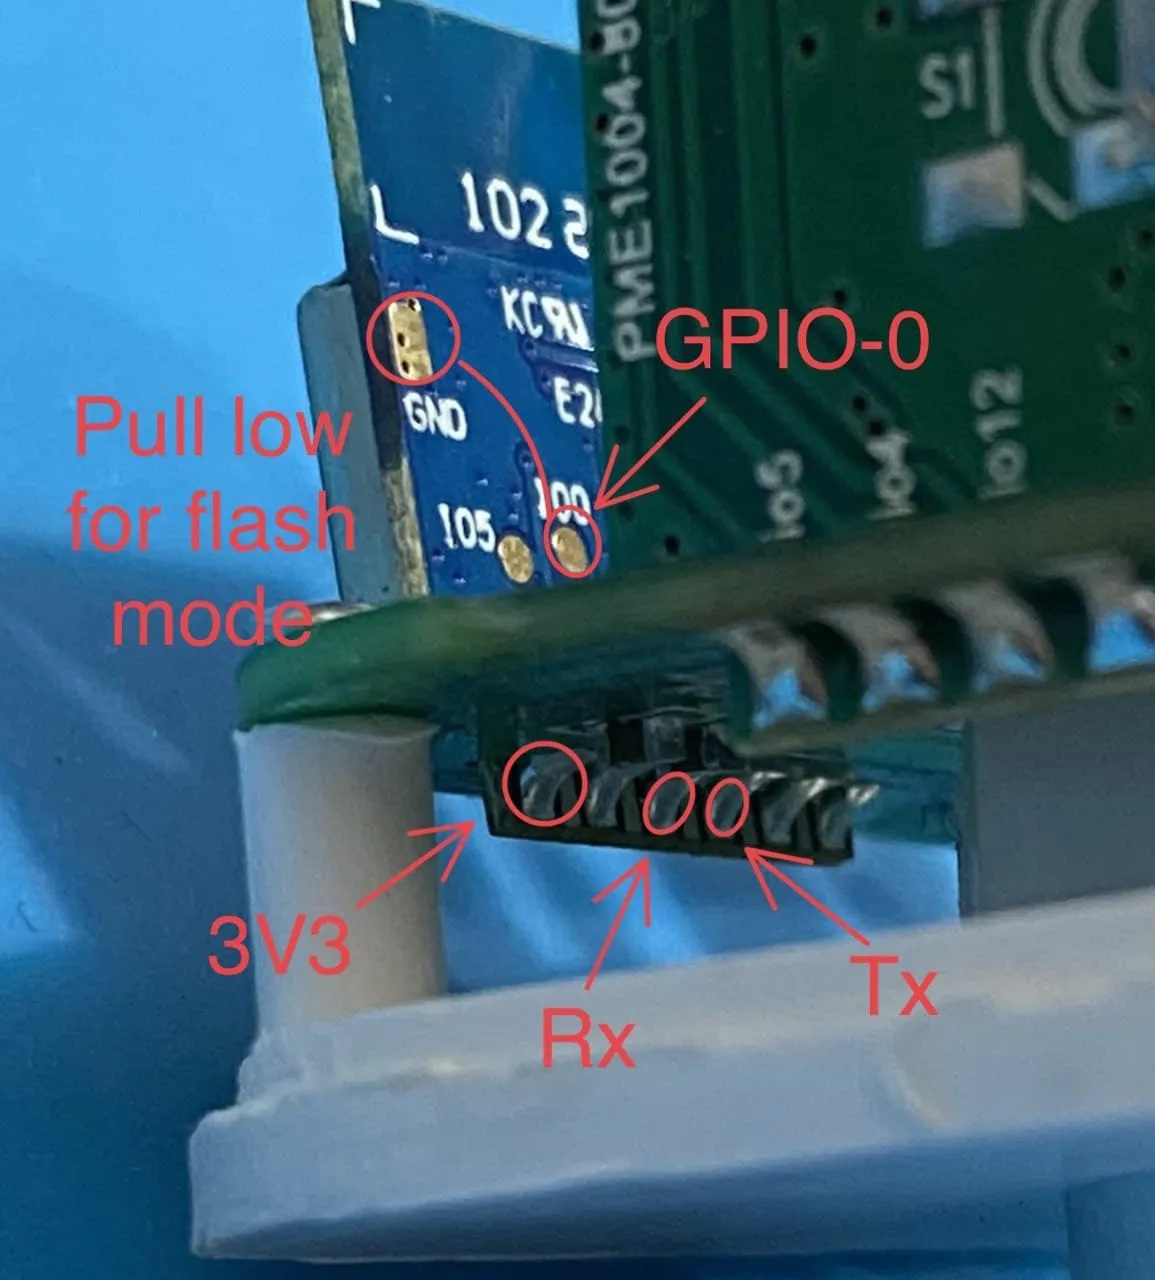
Device contains the tiny TYWE2S module, it’s oriented and positioned such that it’s 3V3, TX and RX pins are on
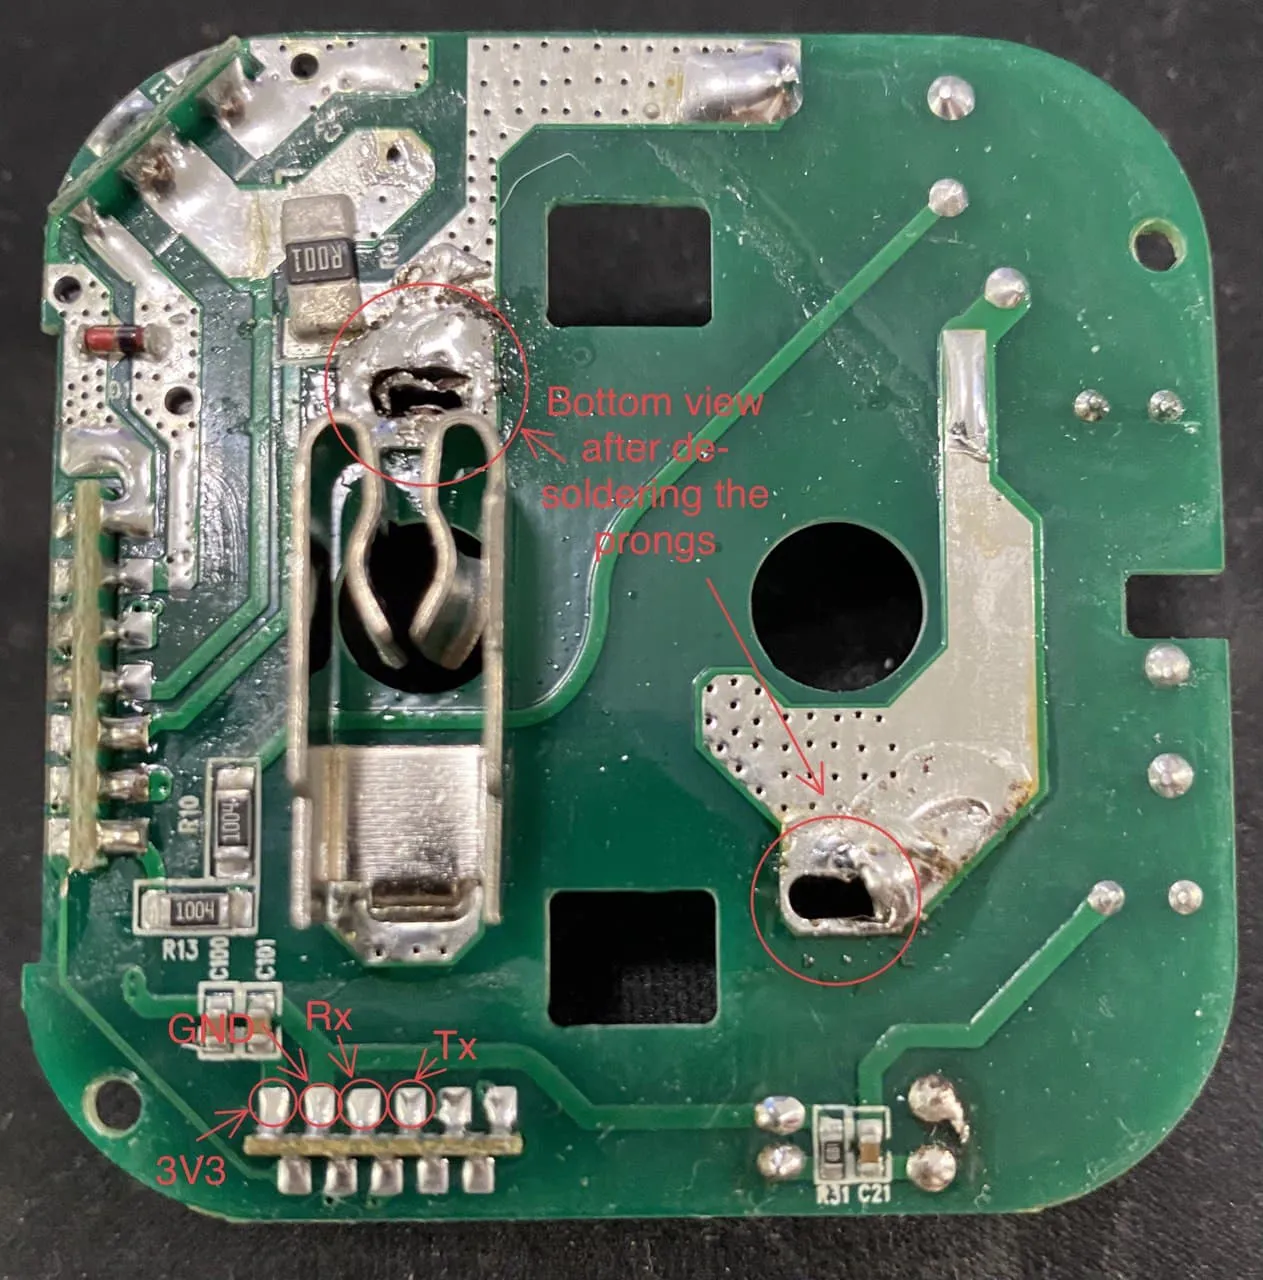
the inner bottom side of the main board making them very hard to reach for soldering. The socket prongs do not move and
are stuck to the casing, to reach the UART0 you need to either de-solder the mains prongs from the board or make a hole.
If you are unable to boot into flash mode you might need to remove the shielding and [try to solder the GPIO0 pin of the ESP itself]((https://github.com/ct-Open-Source/tuya-convert/issues/862).
Photos
Pinout
 .
.