


Available from:
Cadeauxperts.nl
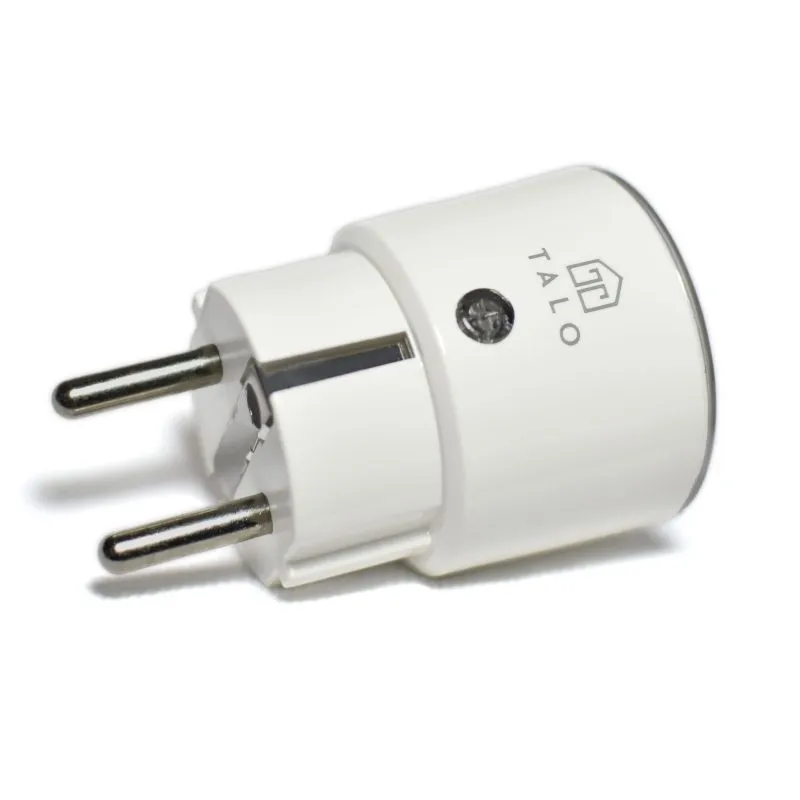
Manufacturer:
Talosmarthome.com
Install method:
USB to Serial
| GPIO # | Component |
|---|---|
| GPIO00 | Button 1 |
| GPIO01 | None |
| GPIO02 | None |
| GPIO03 | None |
| GPIO04 | BL0937 CF |
| GPIO05 | HLWBL CF1 |
| GPIO09 | None |
| GPIO10 | None |
| GPIO12 | HLWBL SELi |
| GPIO13 | Led_i 1 |
| GPIO14 | Relay 1 |
| GPIO15 | None |
| GPIO16 | None |
| GPIO17 | None |
{"NAME":"Talo smart plug","GPIO":[32,0,0,0,2720,2656,0,0,2624,320,224,0,0,0],"FLAG":0,"BASE":49}There is a screw is behind the specification sticker under the earth mark. Once you’ve removed the screw you will need to detach the wifi antenna from the body of the plug. Be careful that you don’t break the wire. After that you should be able to take the board out of the plug by hitting the power pins on the back of the device using a small hammer. Gpio0 is the button. That means before you power the plug using your serial adapter you will need to hold the button.
For more information look at this video
It is another brand but all steps are the same.