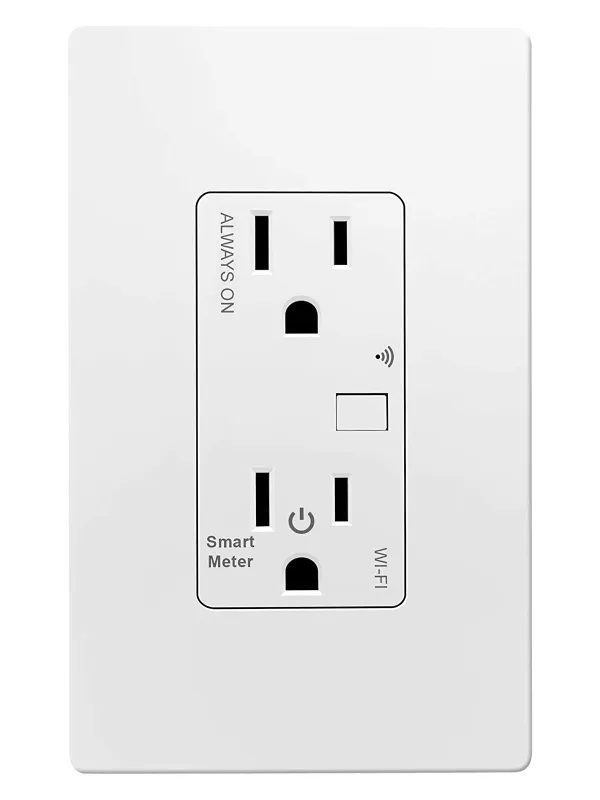
Available from:
Amazon.com
Walmart.com
Install method:
Tuya-Convert
| GPIO # | Component |
|---|---|
| GPIO00 | None |
| GPIO01 | Led1i |
| GPIO02 | None |
| GPIO03 | Button1 |
| GPIO04 | BL0937 CF |
| GPIO05 | HLWBL CF1 |
| GPIO09 | None |
| GPIO10 | None |
| GPIO12 | HLWBL SELi |
| GPIO13 | Led2i |
| GPIO14 | Relay1 |
| GPIO15 | None |
| GPIO16 | None |
| FLAG | None |
{"NAME":"TGWF15RM","GPIO":[0,56,0,17,134,132,0,0,131,57,21,0,0],"FLAG":0,"BASE":55}WARNING: New Tuya devices have replaced their Wi-Fi module with one incompatible with Tasmota!!!
Tuya-Convert might not be possible for this device since the template was added (2019-10-18).
Tuya Convert worked as of 21 October 2022.
Serial Flashing Level of difficulty: Hard (hard to reach pins, no obvious flashing pads, plug doesn’t fully come apart, etc.). Potentially possible with 3D printed Jig for underside of TYWE2S and alligator clamp on 3v3 pin.
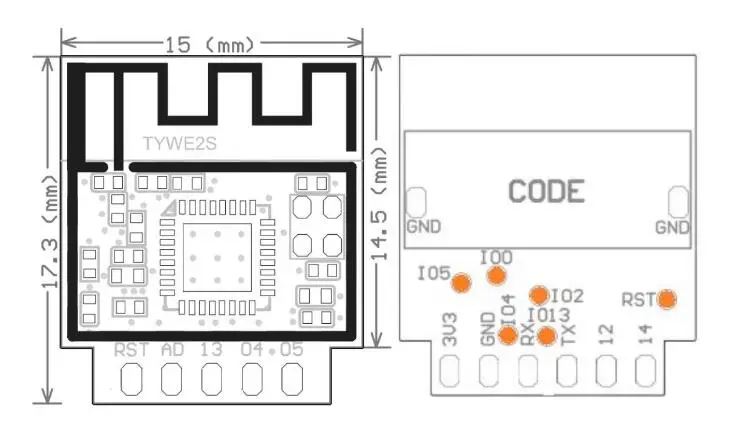
Chipset: Tuya TYWE2S esp8266 board as (ESP8285) https://community.home-assistant.io/t/costco-feit-tuya-based-wifi-dimmer-step-by-step-guide-newbie-friendly/284865/2
If you have to / want to serial flash this plug, the plug itself is made of three sections. The electronics are on both sides of the middle plastic ring, and are soldered together, such that you cannot (obviously) remove them from the board. Because of this, you need to directly contact the pins, from the side through a ~4-5 mm tall opening.
The 3.3v is at the edge of the board underneath the mid-board. RX/TX look to be reachable, but very close clearances on the backside of the chip. The ground pads appear to be fairly reachable.
Pinout
 .
.


