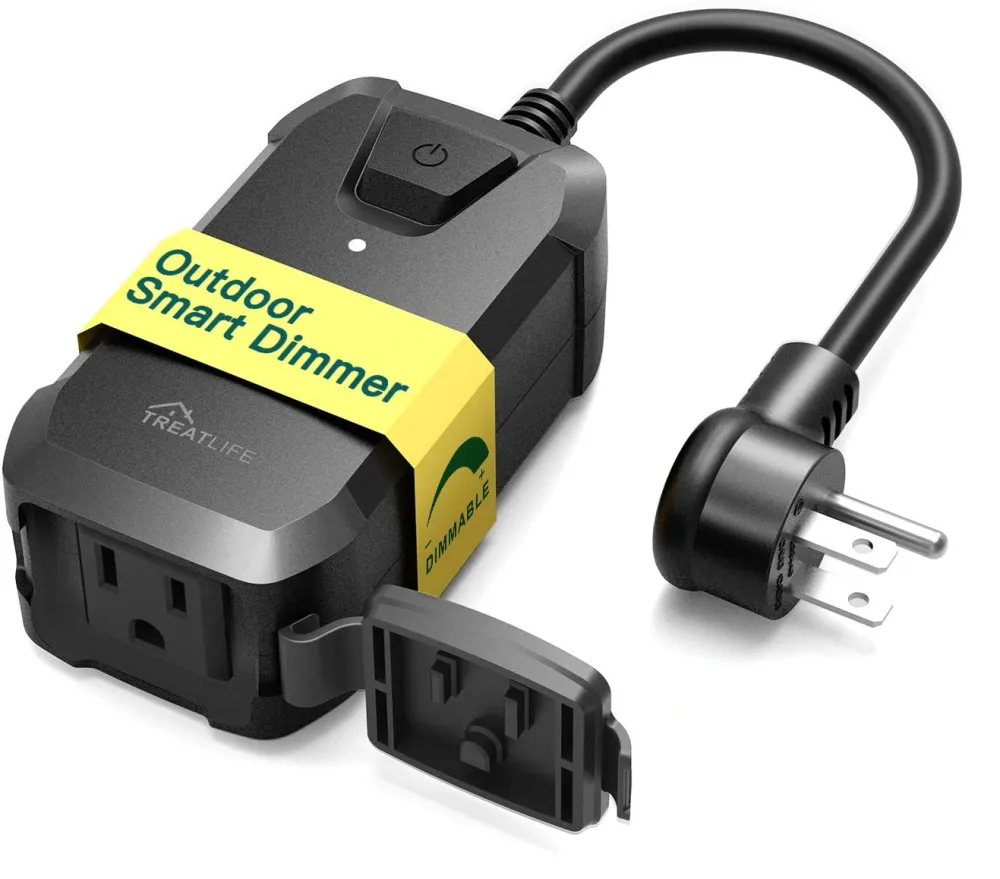
Available from:
Amazon.com
Install method:
USB to Serial
| GPIO # | Component |
|---|---|
| GPIO00 | None |
| GPIO01 | Tuya Tx |
| GPIO02 | None |
| GPIO03 | Tuya Rx |
| GPIO04 | None |
| GPIO05 | None |
| GPIO09 | None |
| GPIO10 | None |
| GPIO12 | None |
| GPIO13 | None |
| GPIO14 | None |
| GPIO15 | None |
| GPIO16 | None |
| FLAG | None |
{"NAME":"DP10 Dimmer","GPIO":[0,107,0,108,0,0,0,0,0,0,0,0,0],"FLAG":0,"BASE":54}This device now comes with a Wi-Fi module incompatible with Tasmota
Enter these commands to get the dimmer working and the allow the buttons to work if the switch is off:
BackLog TuyaMCU 21,2;SetOption20 1;SetOption54 1
Backlog TuyaSend2 3,100; DimmerRange 100,1000
Note: On the v3.1 board, the TYWE3S can be flashed by grounding the DAT pin to GND, and undervolting the TYWE3S to 3.0v while flashing.
Note: Flashing the DP10 via serial requires both grounding GPIO0 during reset and preventing the Nuvoton M031EC1AE MCU from sending serial commands to the TYWE3S’s RX pin. This can be easily achieved by grounding the nRESET pin of the MCU throughout the flashing and template configuration process. nRESET is pin 24, counted counter-clockwise from the pin 1 indicator, i.e., with the pin 1 indicator at upper left, nRESET is the 5th pin down on the righthand side.
Note: Common uses of the DP10 include control of patio string (bistro) lights. In order to accomplish low level dimming, change the lower limit of the DimmerRange to 10 using the following command:
Backlog TuyaSend2 3,100; DimmerRange 10,1000


