


Available from:
Tubeszb.com
Manufacturer:
Github.com
Install method:
esphome
| GPIO # | Component |
|---|---|
| GPIO00 | None |
| GPIO01 | None |
| GPIO02 | None |
| GPIO03 | Output Hi |
| GPIO04 | None |
| GPIO05 | Zigbee Rx |
| GPIO09 | None |
| GPIO10 | None |
| GPIO12 | None |
| GPIO13 | None |
| GPIO14 | None |
| GPIO15 | None |
| GPIO16 | ETH POWER |
| GPIO17 | Zigbee Tx |
| GPIO18 | ETH MDIO |
| GPIO19 | None |
| GPIO20 | None |
| GPIO21 | None |
| GPIO22 | None |
| GPIO23 | ETH MDC |
| GPIO24 | None |
| GPIO25 | None |
| GPIO26 | None |
| GPIO27 | None |
| GPIO6 | None |
| GPIO7 | None |
| GPIO8 | None |
| GPIO11 | None |
| GPIO32 | Output Hi |
| GPIO33 | Zigbee RST 1 |
| GPIO34 | None |
| GPIO35 | None |
| GPIO36 | None |
| GPIO37 | None |
| GPIO38 | None |
| GPIO39 | None |
{"NAME":"Tube ZB CC2652","GPIO":[0,0,0,3840,0,3584,0,0,0,0,0,0,5536,3552,5600,0,0,0,0,5568,0,0,0,0,0,0,0,0,3840,5792,0,0,0,0,0,0],"FLAG":0,"BASE":1}
To use this device, you have to compile Tasmota with Ethernet enabled. Download unofficial precompiled firmware from development branch.
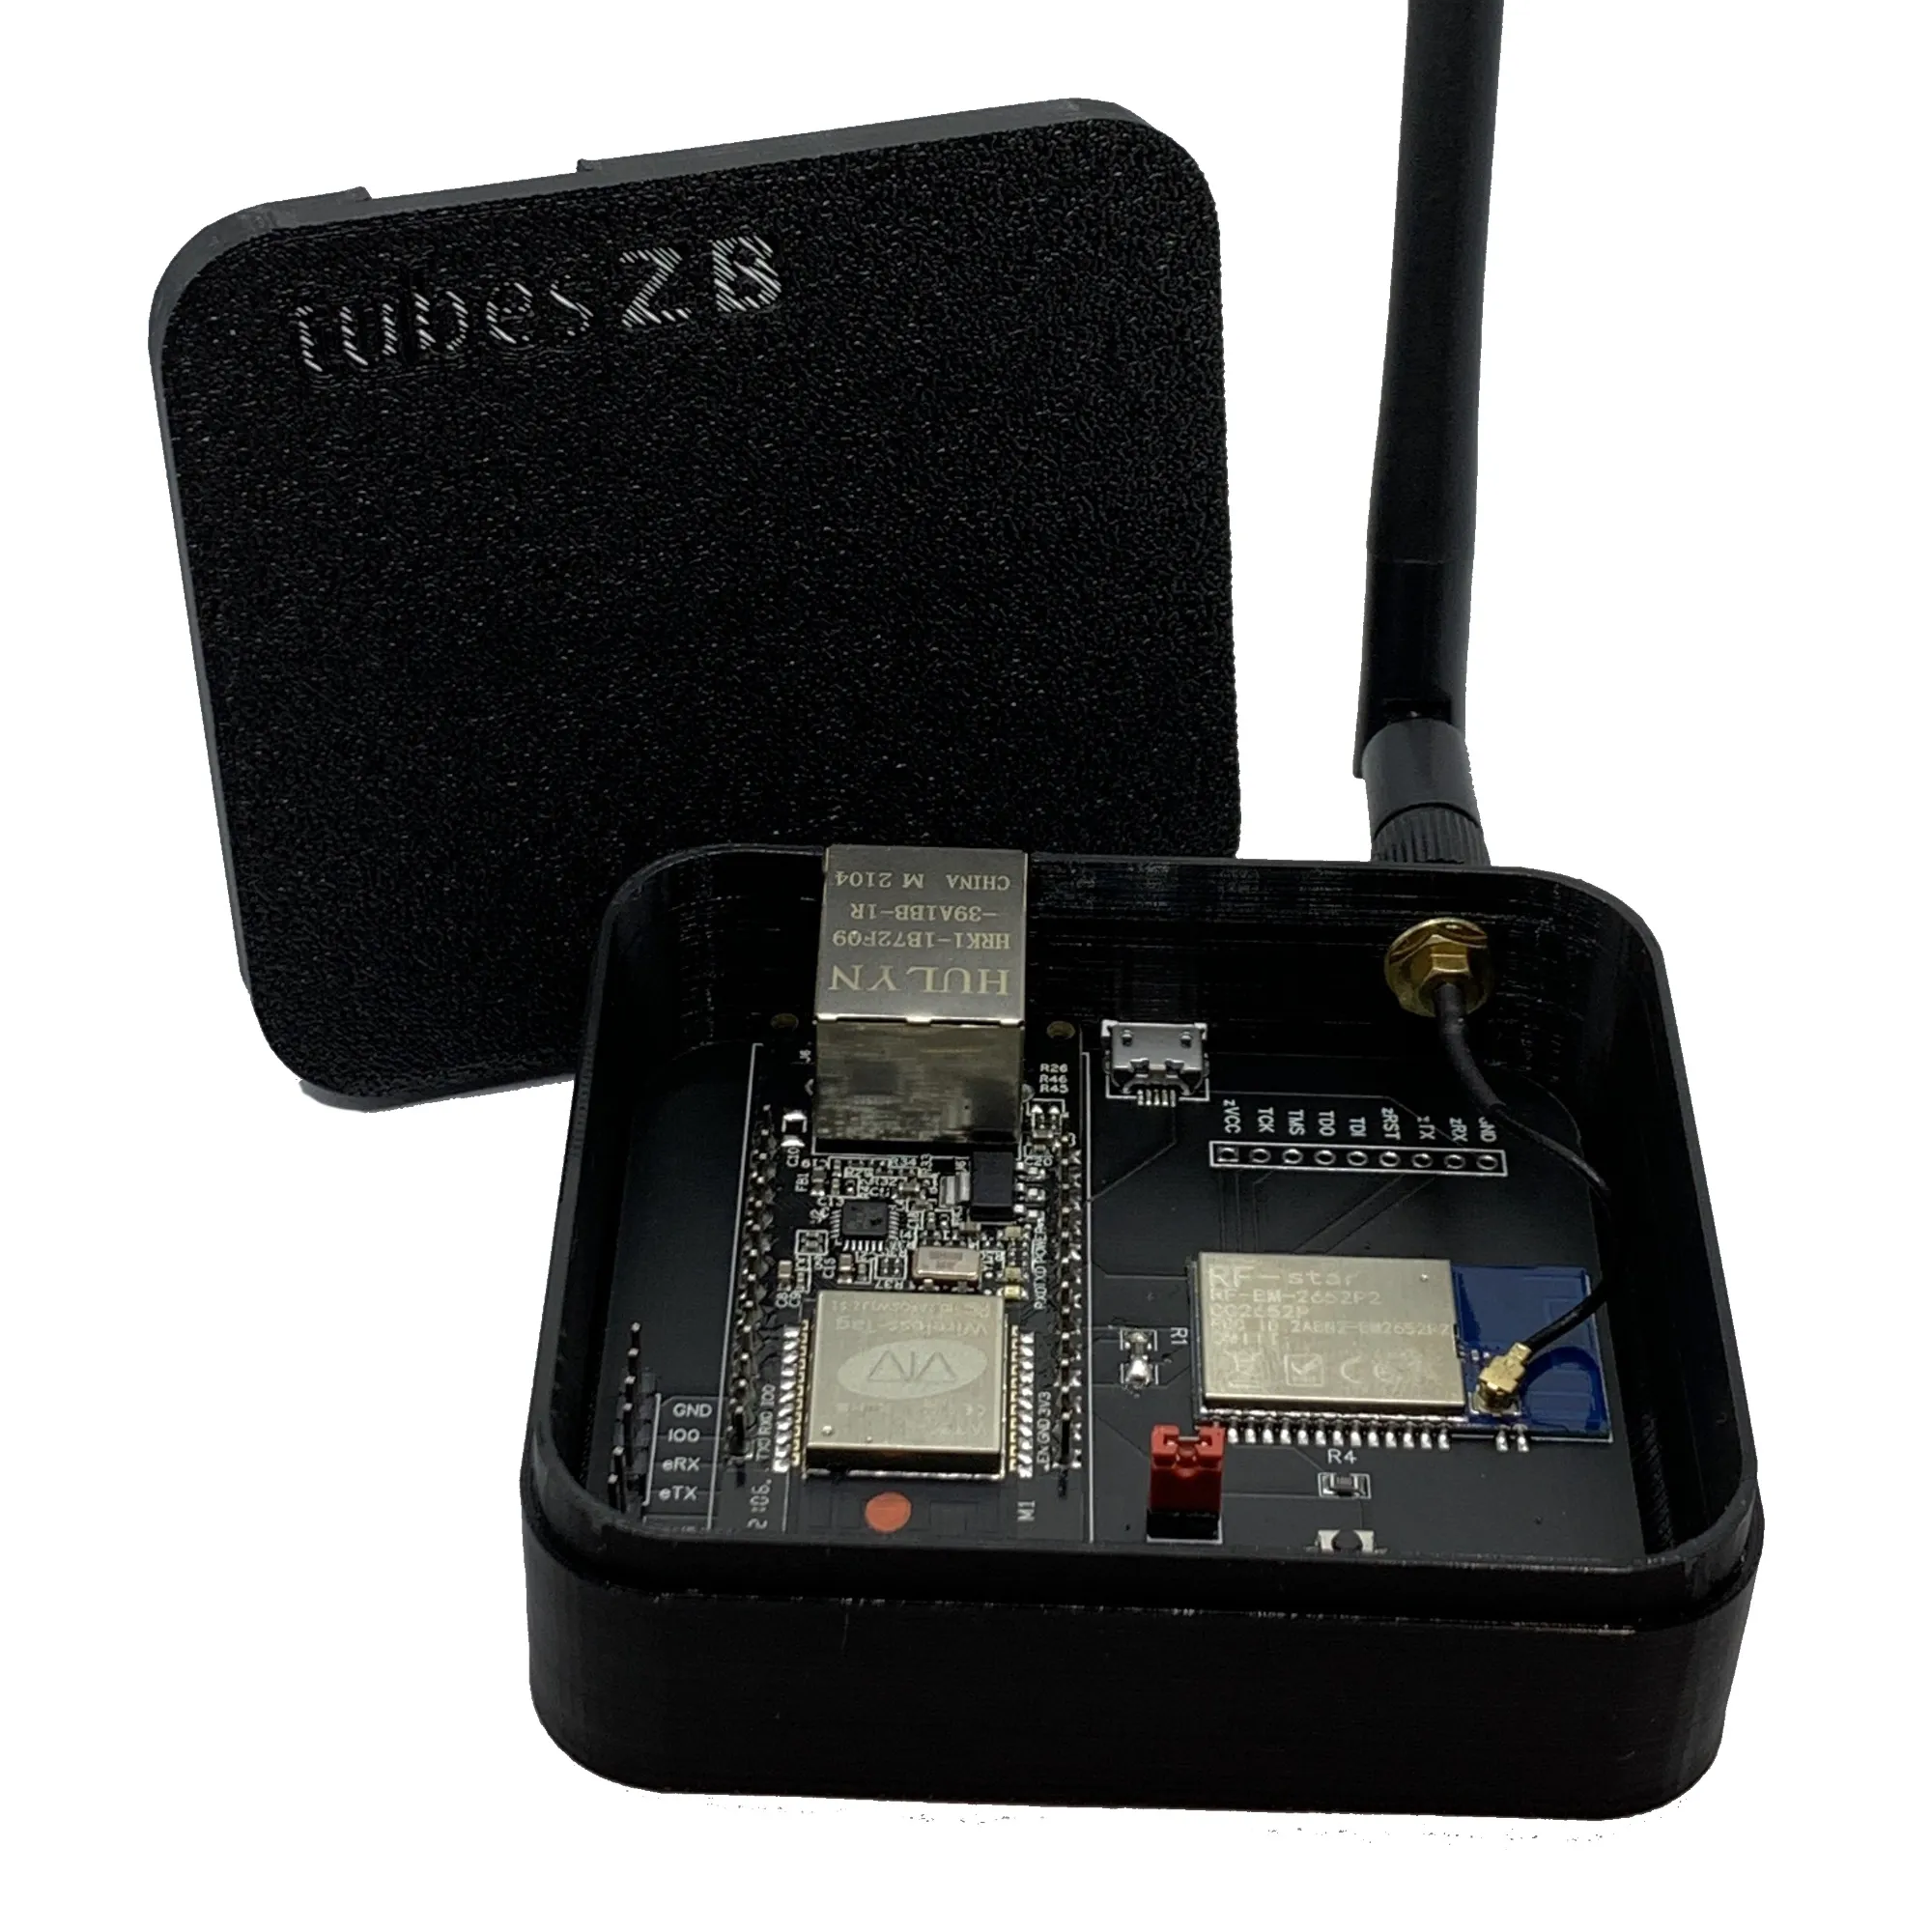
Zigbee coordinator based on ESP32 and CC2652p2
Self-compile Tasmota for this device
You need to self compile with the following options, either in my_user_config.h or in user_config_override.h, using tasmota32 as a base firmware.
#define USE_ZIGBEE      // Enable serial communication with Zigbee CC2530 flashed with ZNP
#undef USE_ZIGBEE_EZSP  // Ensure ZNP support and not EZSP

#define USE_UFILESYS    // use file system

// WT32-ETH01
#define USE_ETHERNET
#undef  ETH_TYPE
#define ETH_TYPE        0   // ETH_PHY_LAN8720
#undef  ETH_CLKMODE
#define ETH_CLKMODE     0   // ETH_CLOCK_GPIO0_IN
#undef  ETH_ADDRESS
#define ETH_ADDRESS     1
Flash firmware
Good news is that you don’t need any wires to flash Tasmota on this device.
The device comes ZStack-3 pre-flashed on CC2652P2, and ESPhome pre-flashed on ESP32. You can simply use the OTA feature of ESPHome to flash Tasmota32.
- Connect the gateway to a ethernet cable which has access you your local network.
- Power on the gateway with a micro usb cable and power supply. The link lights on the ethernet port will start blinking as it tries to negotiate a connection with your home network router.
- Determine the device’s ip address If your local network supports .local mdns addresses, the devices can be reached that way: tube_zb_gw_cc2652p2.local
Click on OTA Update -> Choose File, select the tasmota32 firmware and click Update
The device will reboot and enter AP mode. Configure Tasmota WIFI the regular way.
Configure Tasmota template
Finally configure the template:
Backlog Module 0; Template {"NAME":"Tube ZB CC2652","GPIO":[0,0,0,3840,0,3584,0,0,0,0,0,0,5536,3552,5600,0,0,0,0,5568,0,0,0,0,0,0,0,0,3840,5792,0,0,0,0,0,0],"FLAG":0,"BASE":1}
Enjoy!