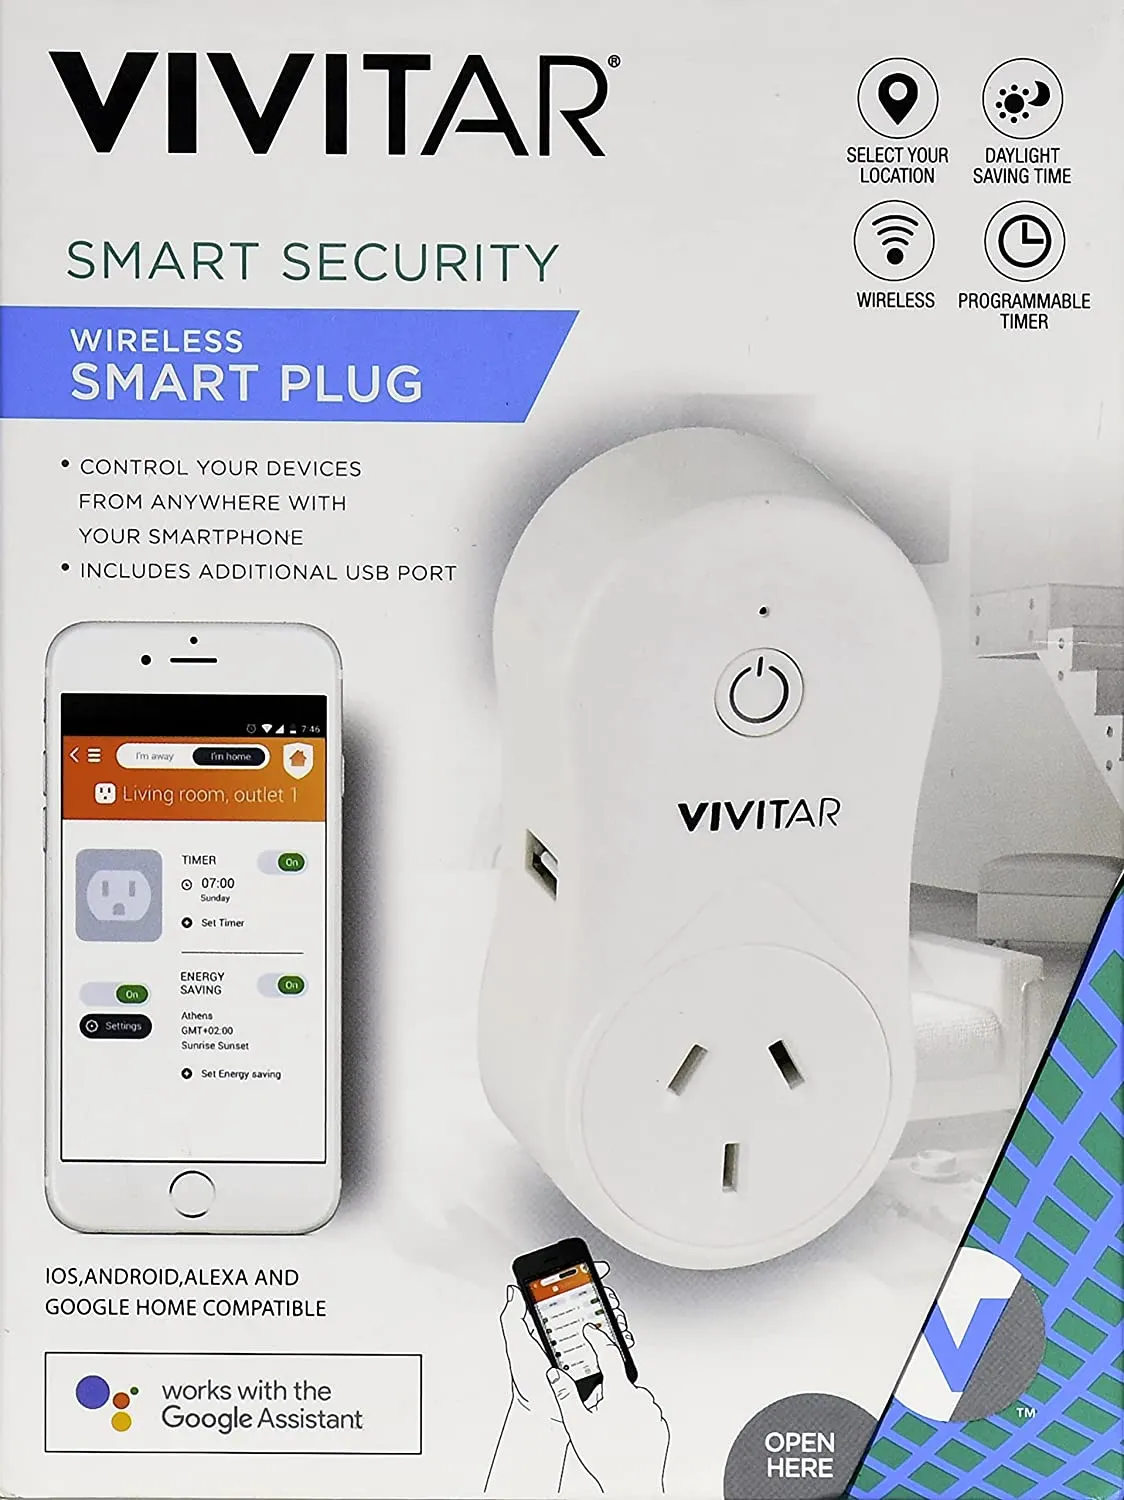
Vivitar Plug Plug (HA-1005N-AU)

Available from:
Amazon.com.au
Install method:
USB to Serial
| GPIO # | Component |
|---|---|
| GPIO00 | None |
| GPIO01 | None |
| GPIO02 | None |
| GPIO03 | None |
| GPIO04 | LedLink |
| GPIO05 | None |
| GPIO09 | None |
| GPIO10 | None |
| GPIO12 | Relay 1 |
| GPIO13 | Button_n 1 |
| GPIO14 | None |
| GPIO15 | None |
| GPIO16 | None |
| GPIO17 | None |
Configuration
{"NAME":"HA-1005N-AU","GPIO":[0,0,0,0,544,0,0,0,224,64,0,0,0,0],"FLAG":0,"BASE":18}Devices on original firmware can be flashed with tuya-convert, however if your device has been updated then you will need to flash it manually.
The device comes apart relatively easily, with 2 screws in the back and then use a couple of guitar picks to pop the outer cover off. There are 2 more screws holding in the PCB. Be careful removing the PCB as the USB port tends to catch on the plastic housing.
![image: /assets/device_images/vivitar_HA-1005N-AU_pinout.webp] ![image: /assets/device_images/vivitar_HA-1005N-AU_disassembled.webp]


