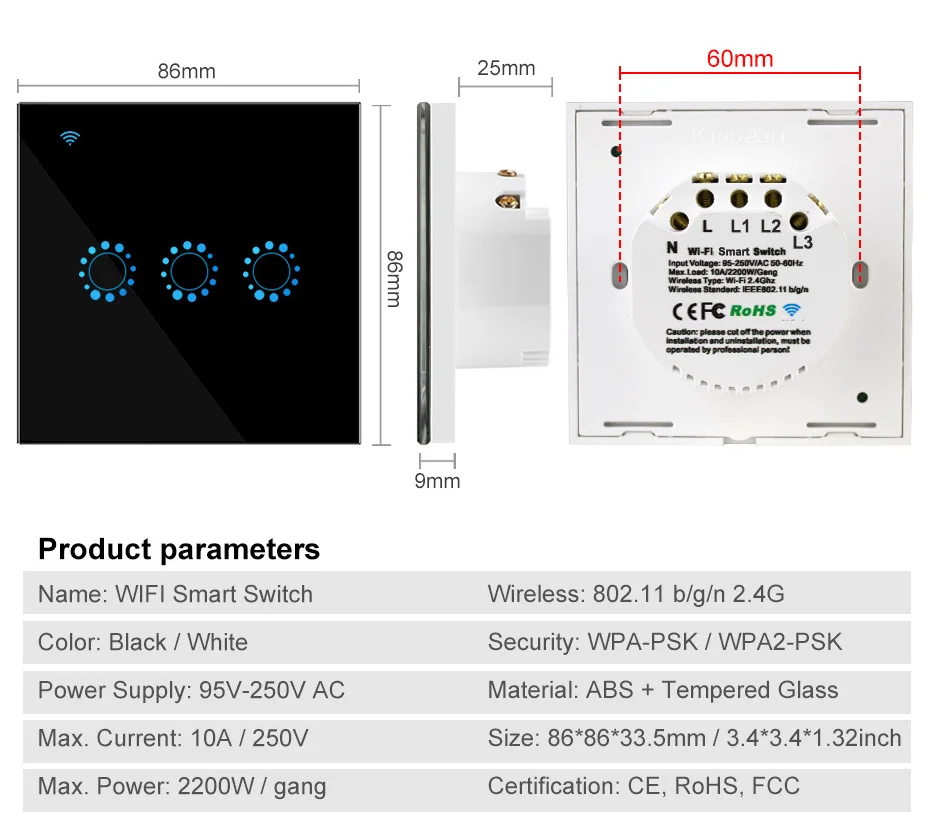
WiFi Smart Switch 3 Gang Switch

Available from:
Aliexpress.com
Ebay.co.uk
Install method:
USB to Serial
| GPIO # | Component |
|---|---|
| GPIO00 | Button1 |
| GPIO01 | User |
| GPIO02 | None |
| GPIO03 | User |
| GPIO04 | Relay3 |
| GPIO05 | Relay2 |
| GPIO09 | Button2 |
| GPIO10 | Button3 |
| GPIO12 | Relay1 |
| GPIO13 | Led1 |
| GPIO14 | None |
| GPIO15 | None |
| GPIO16 | None |
| FLAG | User |
Configuration (old format, will be converted to new template when applied)
{"NAME":"KingArt-3CH","GPIO":[17,255,0,255,23,22,18,19,21,52,0,0,0],"FLAG":15,"BASE":18}Requires soldering to surface pads (no Sonoff Style through-plated connection holes) but easy enough with a fine tip iron and the solder resist is good. TX and RX are a little close but not too hard to deal with.
Programs with normal esptool.py command just like a Sonoff device.
Connection details obtained from https://tasmota.github.io/docs/devices/KingArt
On that page, the author suggests using a pad on the PCB to ground GPIO0 when booting but I just used the incoming GND as it was more convenient.


