


Available from:
Amazon.com
Walmart.com
Install method:
USB to Serial
| GPIO # | Component |
|---|---|
| GPIO00 | None |
| GPIO01 | None |
| GPIO02 | LedLinki |
| GPIO03 | None |
| GPIO04 | None |
| GPIO05 | None |
| GPIO09 | None |
| GPIO10 | None |
| GPIO12 | None |
| GPIO13 | Button 1 |
| GPIO14 | None |
| GPIO15 | Relay 1 |
| GPIO16 | None |
| GPIO17 | None |
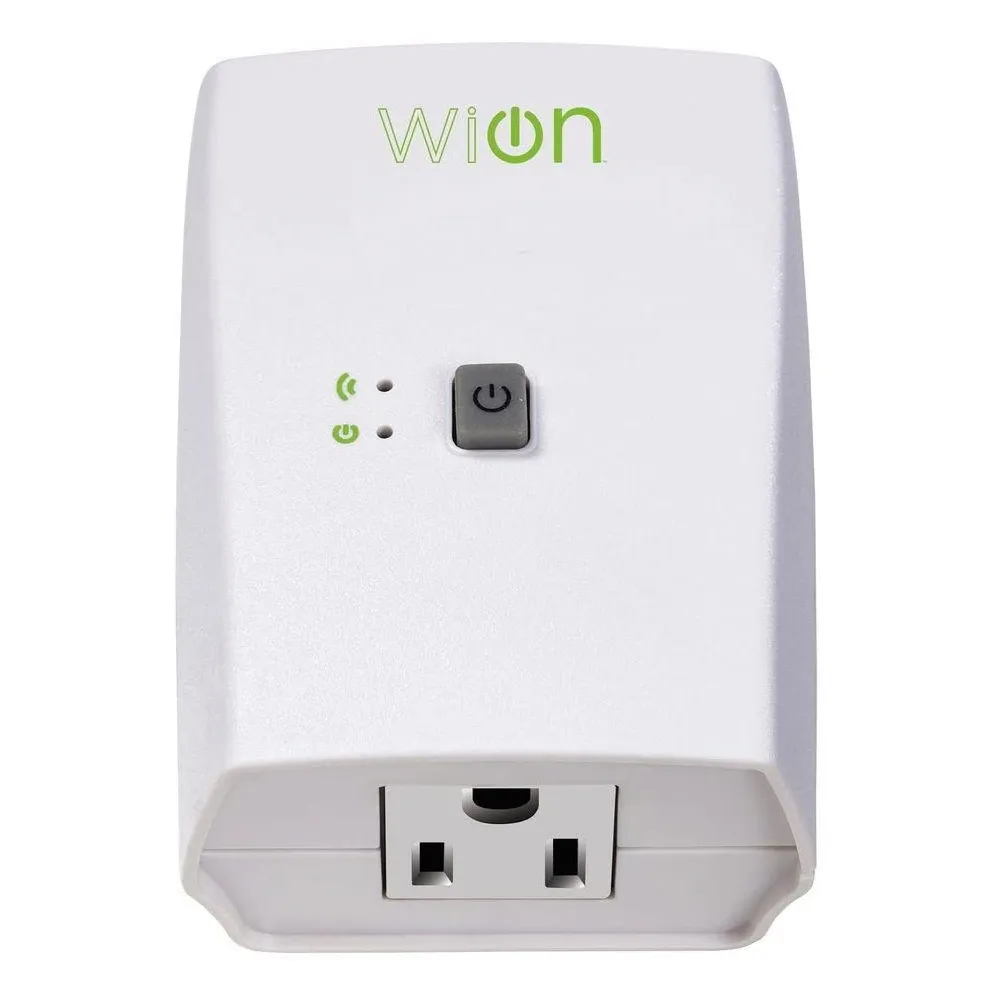
{"NAME":"WiOn 50050","GPIO":[0,0,576,0,0,0,0,0,0,32,0,224,0,0],"FLAG":0,"BASE":18}You need to take apart the plug and flash the chip manually. There are no re-existing holes for flashing pins. You can follow the instructions from “The Great Geekery” or “Hagensieker” below. I will also post a link to a downloadable flashing harness you can 3d print and make yourself.
Flashing instructions
You will have to completely take apart the plug to get to the board. It uses small philips head screws only. For pin/power locations, see image below. Make sure that GPIO is connected to Ground/GND so that the esp will allow you to flash it. When you have powered on the chip correctly, the blue light will flicker once and then no lights are present. NOTE: If the light is flashing constantly, you are not in flashing mode.
