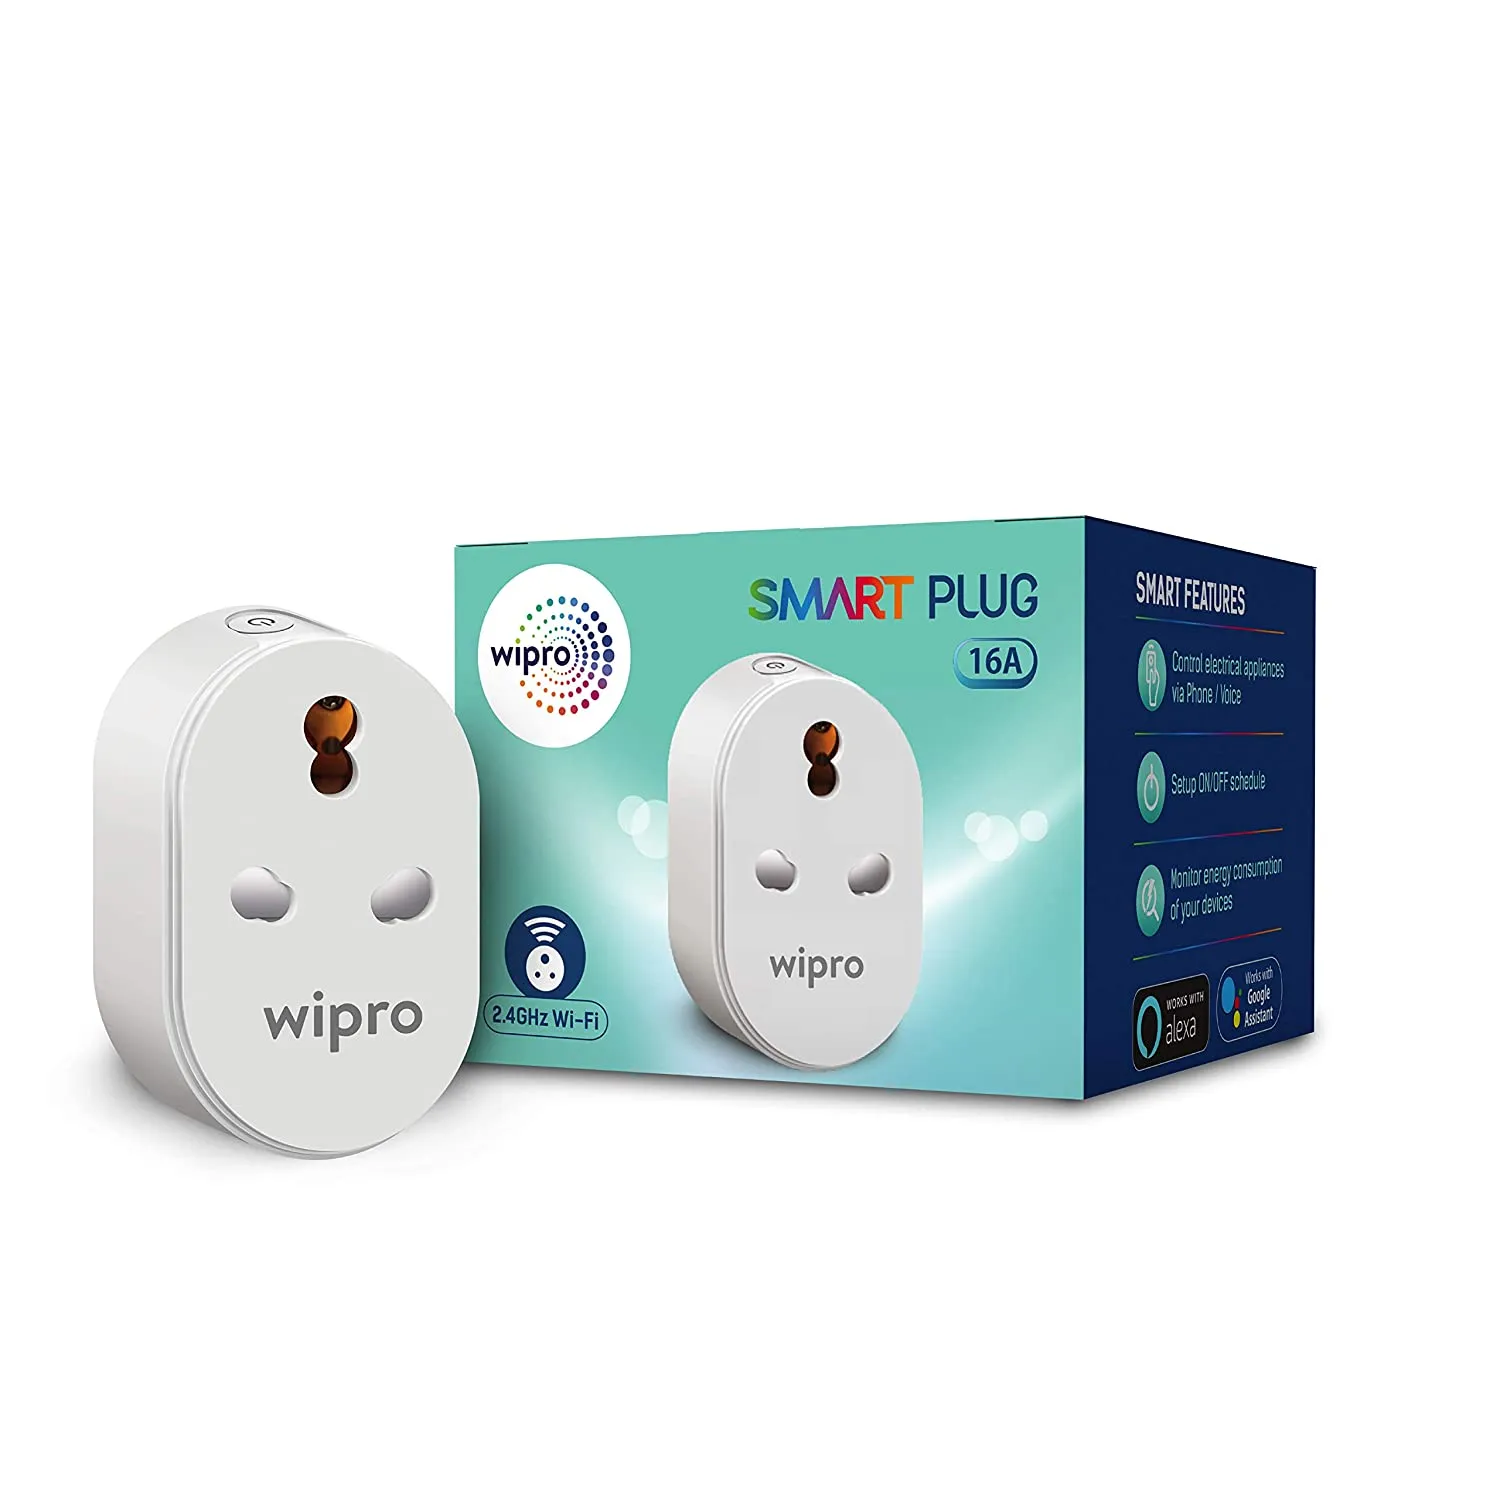
Available from:
Amazon.in
Manufacturer:
Wiproconsumerlighting.com
Install method:
USB to Serial
| GPIO # | Component |
|---|---|
| GPIO00 | None |
| GPIO01 | None |
| GPIO02 | None |
| GPIO03 | Button 1 |
| GPIO04 | BL0937 CF |
| GPIO05 | HLWBL CF1 |
| GPIO09 | None |
| GPIO10 | None |
| GPIO12 | HLWBL SELi |
| GPIO13 | LedLinki |
| GPIO14 | Relay 1 |
| GPIO15 | None |
| GPIO16 | None |
| GPIO17 | None |
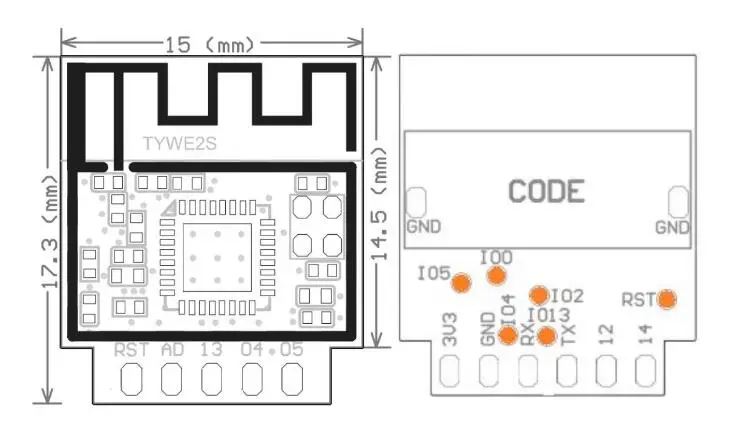
{"NAME":"Wip-DSP1160","GPIO":[0,0,0,32,2720,2656,0,0,2624,576,224,0,0,0],"FLAG":0,"BASE":52}This device has the tuya chip TYWE2S. Power monitoring chip details listed in the Tasmota configuration template. Opening the device is somewhat similar to instructions in https://blakadder.com/disassembling-CN39/. However, i didn’t use a plyer etc, was able to poke in a screwdriver in the gap and yank out with little damage… The bigger complication in this device is that, you need to unsolder the AC terminals on the board to detach the board from the case and get to the Tuya chip.
I was not careful enough while soldering to tx, rx and lifted the pads on the chip. However, after much pains, was able to transplant with a esp12f chip and recover the device and get it working with tasmota.
Pinout
 .
.


