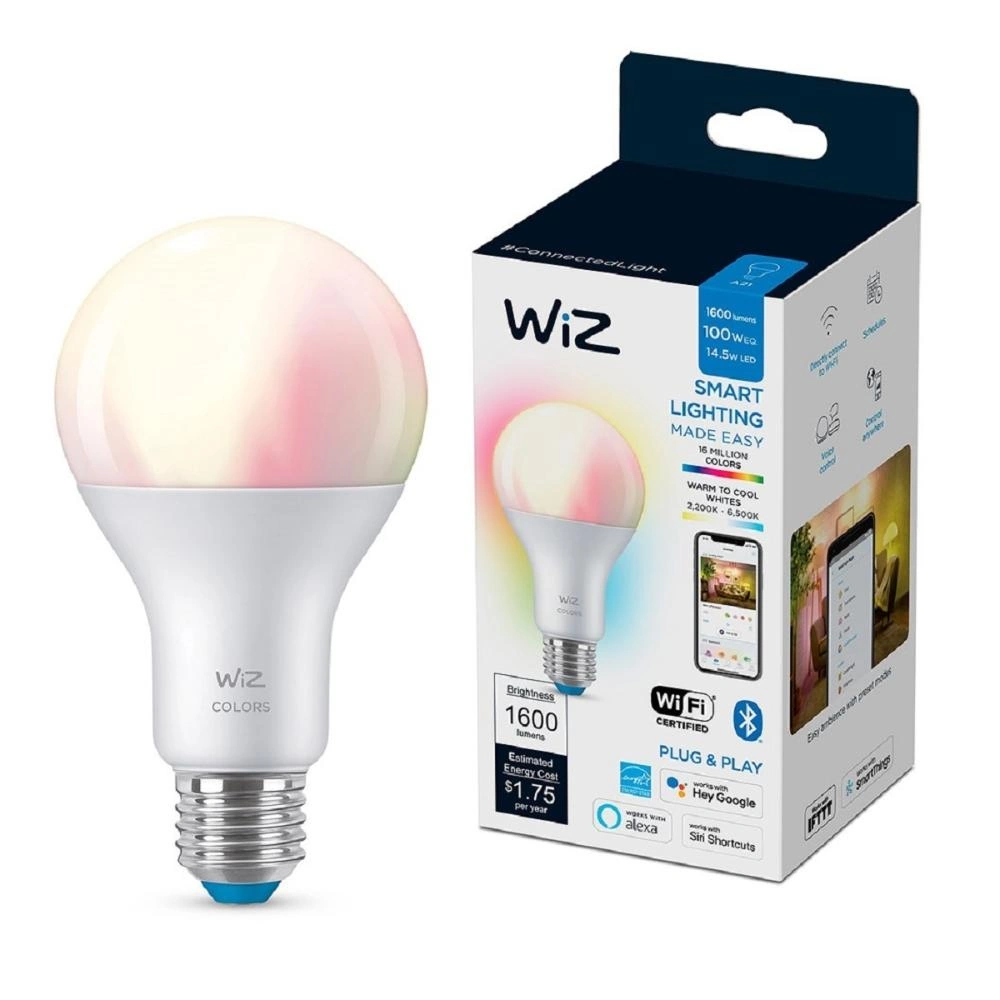
Available from:
Homedepot.com.mx
Bestbuy.com
Manufacturer:
Wizconnected.com
Install method:
USB to Serial
| GPIO # | Component |
|---|---|
| GPIO00 | User |
| GPIO01 | User |
| GPIO02 | PWM 5 |
| GPIO03 | User |
| GPIO04 | PWM 4 |
| GPIO05 | User |
| GPIO09 | User |
| GPIO10 | User |
| GPIO12 | User |
| GPIO13 | User |
| GPIO14 | User |
| GPIO15 | User |
| GPIO16 | User |
| GPIO17 | User |
| GPIO18 | User |
| GPIO19 | User |
| GPIO20 | None |
| GPIO21 | User |
| GPIO22 | User |
| GPIO23 | User |
| GPIO24 | None |
| GPIO25 | PWM 1 |
| GPIO26 | PWM 2 |
| GPIO27 | PWM 3 |
| GPIO6 | None |
| GPIO7 | None |
| GPIO8 | None |
| GPIO11 | None |
| GPIO32 | User |
| GPIO33 | User |
| GPIO34 | User |
| GPIO35 | User |
| GPIO36 | User |
| GPIO37 | None |
| GPIO38 | None |
| GPIO39 | User |
{"NAME":"WIZ-922-65","GPIO":[1,1,420,1,419,1,1,1,1,1,1,1,1,1,1,1,0,1,1,1,0,416,417,418,0,0,0,0,1,1,1,1,1,0,0,1],"FLAG":0,"BASE":1}Pry open the bulb dome with a plastic pryer or flat screwdriver.
The PCB that holds the LEDs needs to be separated, it has 3 metal tabs that need to be straightened, you can do this with the flat screwdriver. Remove or cut the white silicone on the perimeter of that PCB and start prying it out.
After that you will see the main PCB, to take it out you need to remove the bottom silver part of the bulb where it screws to the socket, onece again you can use the flat scredriver. Remove the silicone or the white paste that glues it to the bulb shel and pull it gently.
The chip on that PCB is a ESP32 SOLO 1, you have to remove the silicone from the chip in order to gain access to the pins. Use pins GND, 3.3, TX, RX, GPIO0 to flash.
You can either solder some dupont cables or use some needles and clamps or pincers.


