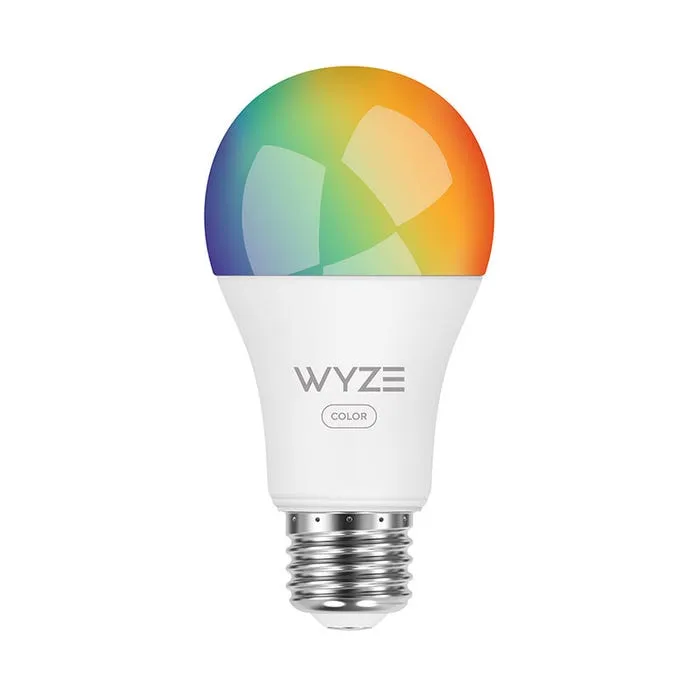
Wyze Bulb Color RGBW Bulb (WLPA19C)

Available from:
Amazon.com
Manufacturer:
Wyze.com
Install method:
USB to Serial
| GPIO # | Component |
|---|---|
| GPIO00 | None |
| GPIO01 | None |
| GPIO02 | None |
| GPIO03 | None |
| GPIO04 | None |
| GPIO05 | None |
| GPIO09 | None |
| GPIO10 | None |
| GPIO12 | None |
| GPIO13 | PWM 3 |
| GPIO14 | PWM 1 |
| GPIO15 | PWM 4 |
| GPIO16 | None |
| GPIO17 | None |
| GPIO18 | None |
| GPIO19 | None |
| GPIO20 | None |
| GPIO21 | None |
| GPIO22 | None |
| GPIO23 | Relay 1 |
| GPIO24 | None |
| GPIO25 | None |
| GPIO26 | PWM 2 |
| GPIO27 | None |
| GPIO6 | None |
| GPIO7 | None |
| GPIO8 | None |
| GPIO11 | None |
| GPIO32 | None |
| GPIO33 | None |
| GPIO34 | None |
| GPIO35 | None |
| GPIO36 | None |
| GPIO37 | None |
| GPIO38 | None |
| GPIO39 | None |
Configuration for ESP32
{"NAME":"Wyze Bulb Color","GPIO":[0,0,0,0,0,0,0,0,0,418,416,419,0,0,0,0,0,0,0,224,0,0,417,0,0,0,0,0,0,0,0,0,0,0,0,0],"FLAG":0,"BASE":1}
See Tasmota documentation on how to configure RGBW lights to your needs.
- Pry up the bulb cover that’s attached with adhesive
- Remove two philip screws and remove top board with LEDs on it
- Pry up Metal cover
- scrape away enough potting compound to access the 3.3v pad, GND pad, GPIO0 pin, TX, and RX pins
- Solder jumper wires and flash tasmota using serial


