


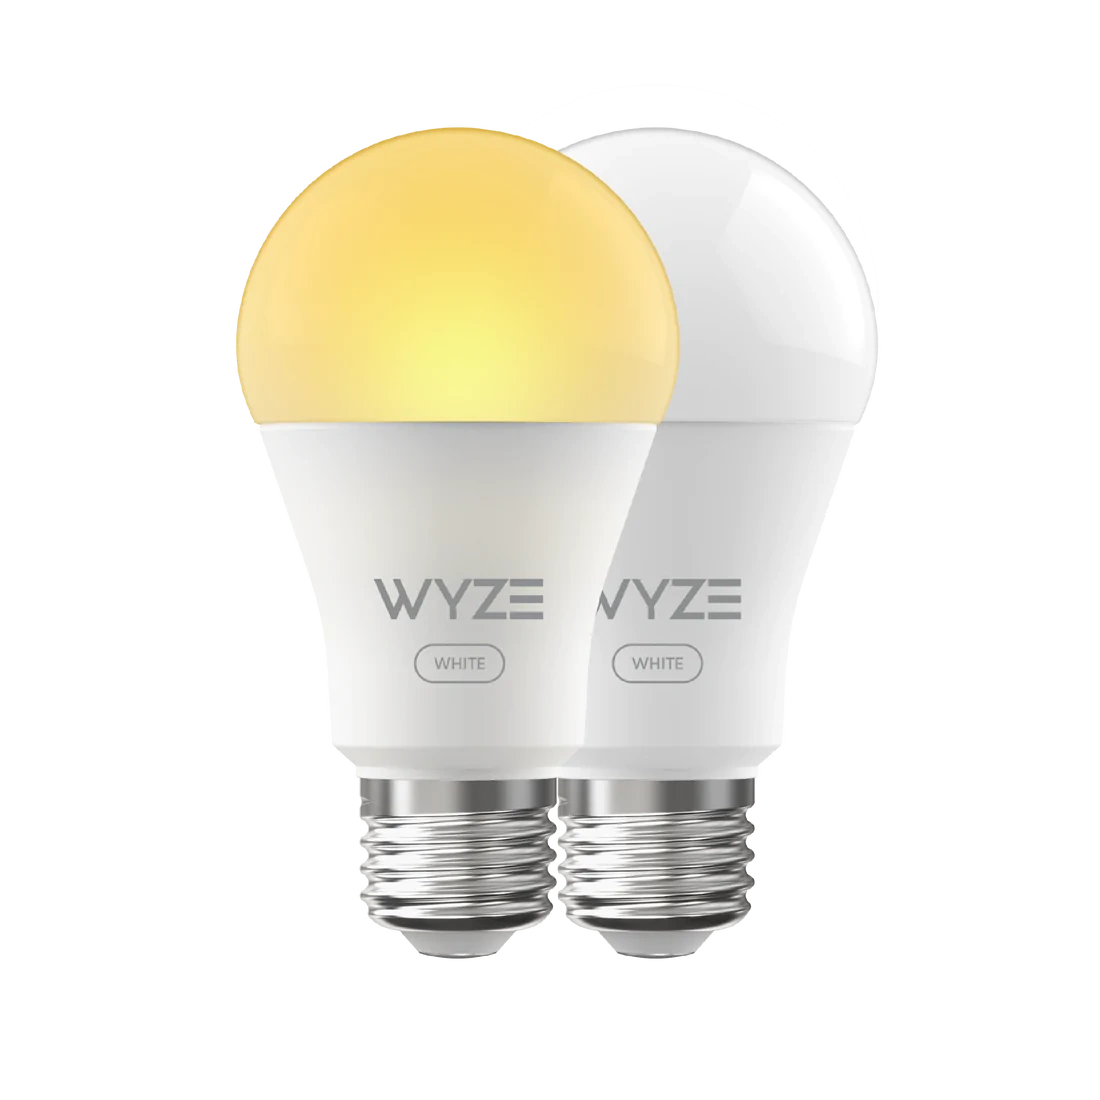
Wyze A19 800lm CCT Bulb (WLPA19 v2)
Available from:
Amazon.com
Manufacturer:
Wyze.com
Install method:
USB to Serial
| GPIO # | Component |
|---|---|
| GPIO00 | None |
| GPIO01 | None |
| GPIO02 | None |
| GPIO03 | None |
| GPIO04 | None |
| GPIO05 | None |
| GPIO09 | None |
| GPIO10 | None |
| GPIO12 | None |
| GPIO13 | None |
| GPIO14 | None |
| GPIO15 | None |
| GPIO16 | None |
| GPIO17 | PWM 2 |
| GPIO18 | PWM 1 |
| GPIO19 | None |
| GPIO20 | None |
| GPIO21 | None |
| GPIO22 | None |
| GPIO23 | None |
| GPIO24 | None |
| GPIO25 | None |
| GPIO26 | None |
| GPIO27 | None |
| GPIO6 | None |
| GPIO7 | None |
| GPIO8 | None |
| GPIO11 | None |
| GPIO32 | None |
| GPIO33 | None |
| GPIO34 | None |
| GPIO35 | None |
| GPIO36 | None |
| GPIO37 | None |
| GPIO38 | None |
| GPIO39 | None |
Configuration for ESP32
{"NAME":"WLPA19v2","GPIO":[0,0,0,0,0,0,0,0,0,0,0,0,0,417,416,0,0,0,0,0,0,0,0,0,0,0,0,0,0,0,0,0,0,0,0,0],"FLAG":0,"BASE":1}Open the bulb
- Remove bulb cover
- Unscrew 2 screws holding the top PCB in place
- Carefully pry PCB up and remove it. Keep it as straight as possible during removal
- Remove backing plate
Dig a cave

- GPIO0 is the rearmost solder pad, or the 14th down from the picture’s POV
- Be mindful of the capacitor right next to it
Connect serial adapter

- Wiring diagram is in reference to serial adapter
Flash
- GPIO0 needs to be pulled to ground during first few seconds of boot” The other Wyze CCT bulb on this website is the older, pre-2021 version, but the Amazon link is for this newer version. The older version can be found on Ebay.