


Available from:
Alza.cz
Smartus.hr
Alibaba.com
Amazon.ae
Manufacturer:
Petoneer.com
Install method:
Replace module
| GPIO # | Component |
|---|---|
| GPIO00 | None |
| GPIO01 | Tuya Tx |
| GPIO02 | None |
| GPIO03 | Tuya Rx |
| GPIO04 | None |
| GPIO05 | None |
| GPIO09 | None |
| GPIO10 | None |
| GPIO12 | None |
| GPIO13 | None |
| GPIO14 | None |
| GPIO15 | None |
| GPIO16 | None |
| GPIO17 | None |
{"NAME":"Petoneer Smart Dot","GPIO":[0,2272,0,2304,0,0,0,0,0,0,0,0,0,0],"FLAG":0,"BASE":54}

Identified with MCU Product ID: zaldbxvi1.0.0.
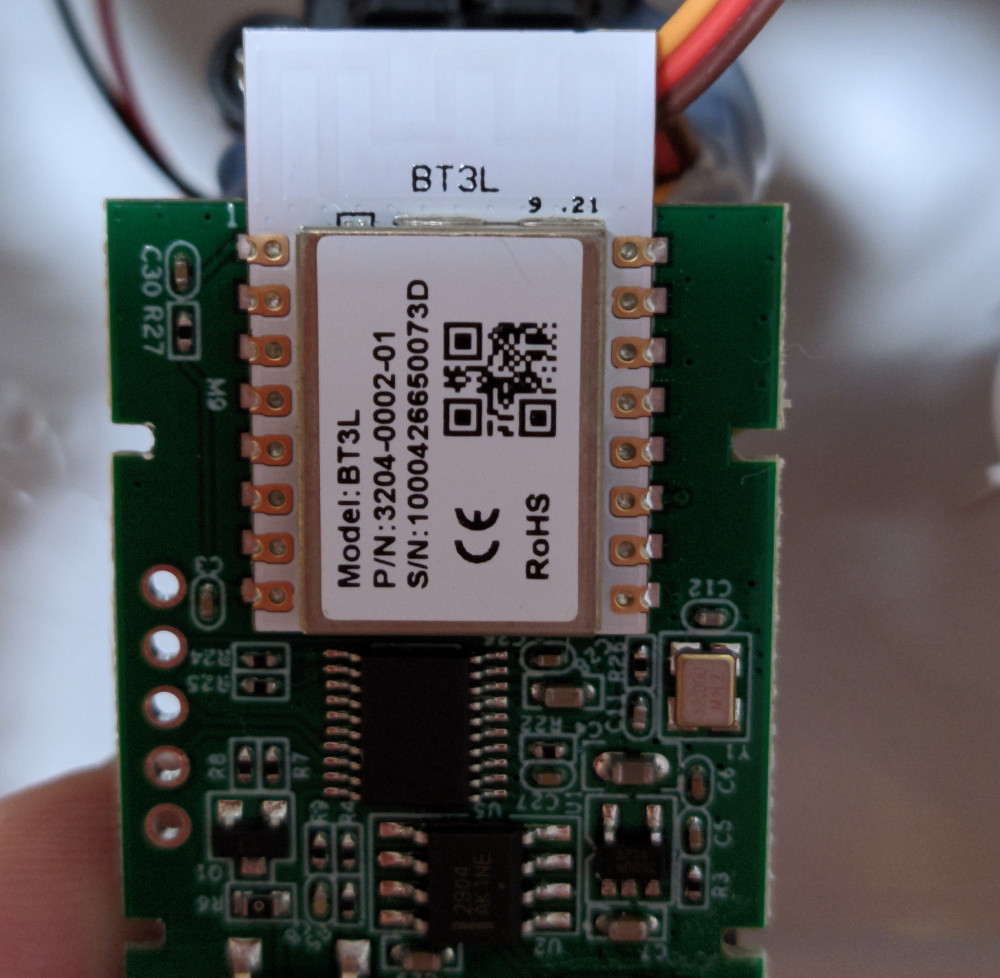
This is initially a BLE device but the BT3L module used has the same pinout as an ESP-12 type module. In my case I desoldered the BT3L with a heat gun and replaced with with an ESP-12S.
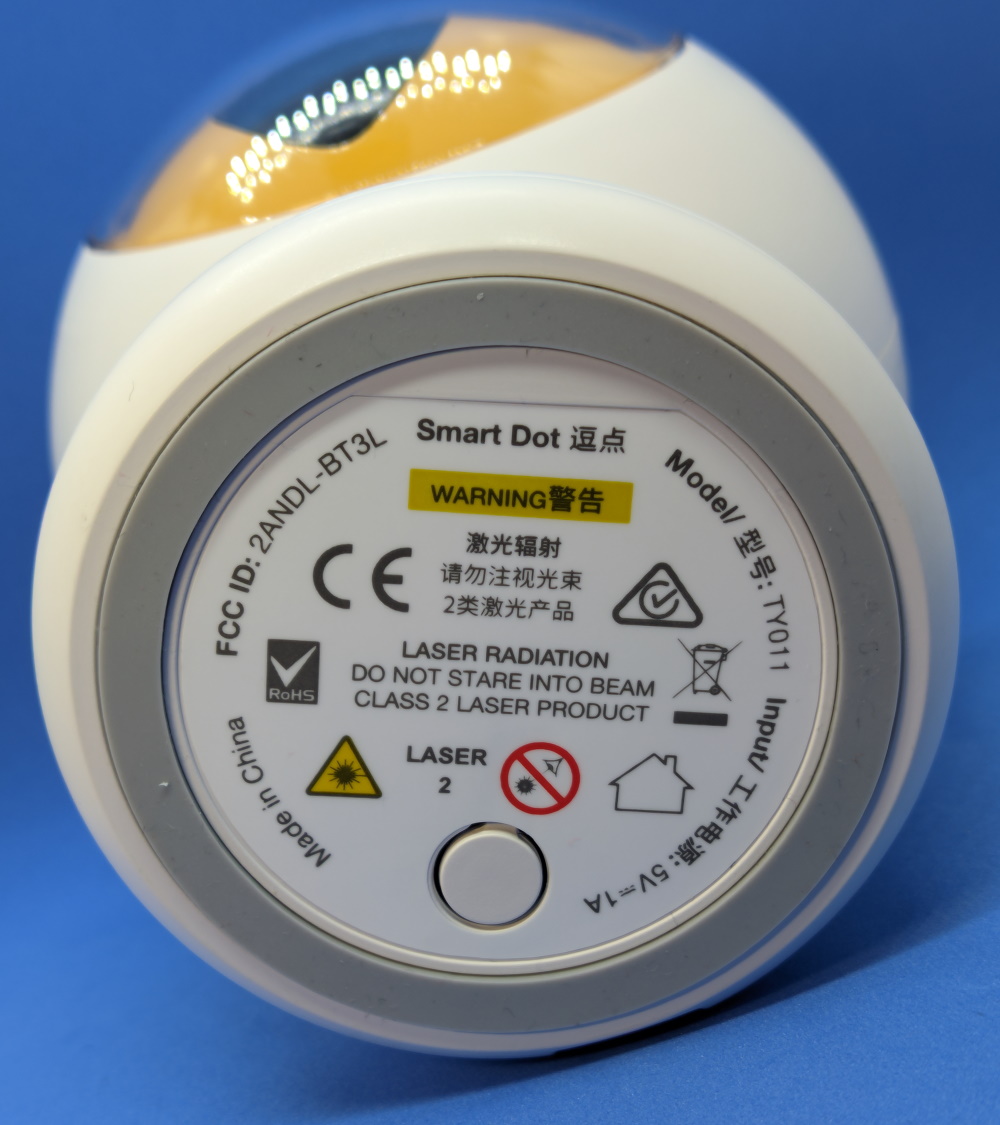
Note that some online sellers have versions that work with Xiaomi and not Tuya. It is unclear whether the Xiaomi version can be converted using this configuration so make sure yours explicitly states it works with Tuya, the model number is TY011 and the PCB matches the one in the pictures.
Opening
Unscrew two screws located in the ears. Use a spudger to separate the bottom from the top two halves. A screw hidden in the back near the micro USB is holding the PCB so unscrew that.

Take note of the motor cable orientation and make sure to label which cable was in the front and which in the back.

Remove all three connectors to free the PCB. Remove the BT3L module with a heat gun and solder in a preflashed ESP-12 module.
Functions
| dpID | Function | Datatype | Additional Comments |
|---|---|---|---|
| 104 | Preset | Value | 0 = None , 1 = Small, 2 = Medium, 2 = Large |
| 105 | Power | Boolean | Turns laser on or off |
| 102 | Manual control | Raw | Control the laser using X,Y coordinates in hex, first two is X, second Y axis with range from 0000 to 01FF |
| 103 | Schedule | Raw | Didn’t bother decoding how it’s used since we can schedule with built in Timers or home automation system |
| 106 | Reset | Boolean | Factory reset the MCU, doesn’t do much after flashed but can be used to clear leftover scheduling |
Configuration
Please read TuyaMCU article to understand the terminology and configuration process.
To map the power function to POWER use TuyaMCU 11,105. Powering on does not start a preset but powering off stops one.
To start a preset use TuyaSend2 104,n where n is the wanted preset number. A preset will run for 5 minutes. After that the dpId state will not update. To make it update we need a rule:
Rule1 on tuyareceived#dptype2id104!=0 do ruletimer1 300 endon on rules#timer=1 do backlog tuyasend2 104,0; power1 0 endon
The device button will still work after replacing the module but a change in state will not be reported from the MCU.
The MCU does not report or update states frequently. Therefore we need a rule on boot to set the device to known values, in this case off
Rule1 + on system#boot do backlog tuyasend2 104,0; tuyasend1 105,0 endon
Enable the rule with Rule1 1.