


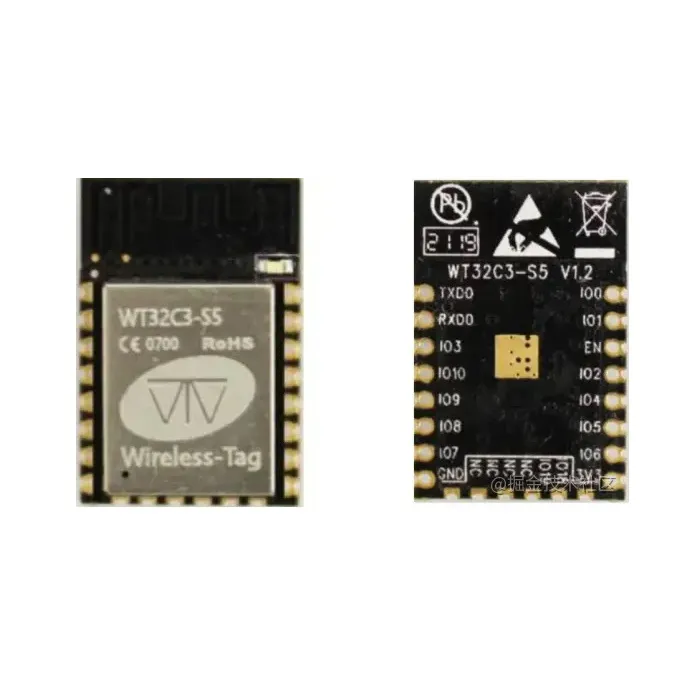
Module 1
Read my guide on replacing a compatible module.
Wire the module accordingly:

Flashing
Flash using Tasmota Web Installer and select Tasmota ESP32-C3 option.
For esptool.py download f.e. tasmota32c3.factory.bin and run esptool.py write_flash 0x0 tasmota32c3.factory.bin
To put ESP32-C3 in flash mode GPIO8 needs to be pulled high and GPIO9 pulled low.
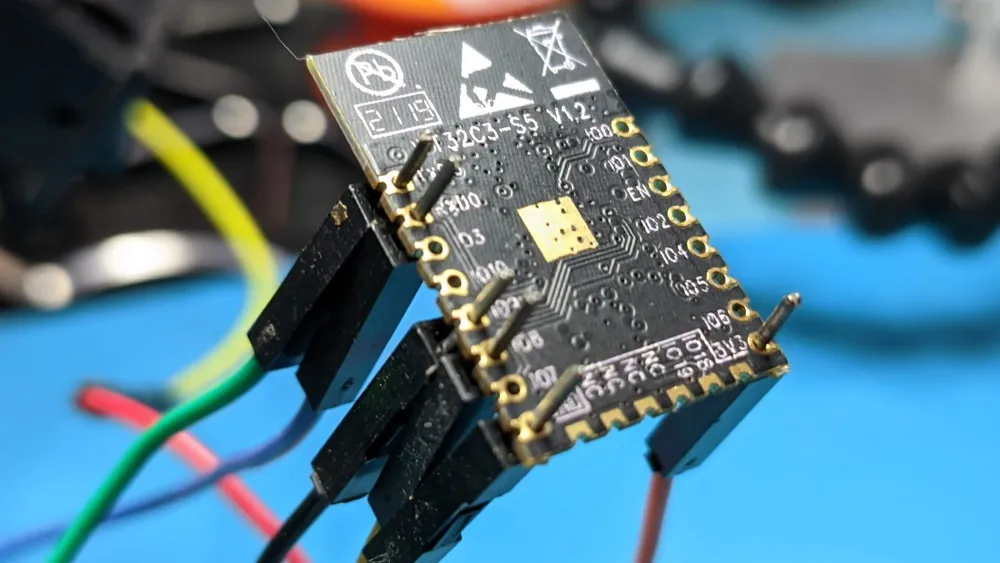
You can do it without any soldering. Just apply pressure to make good contact between the Dupont wires and pin holes.
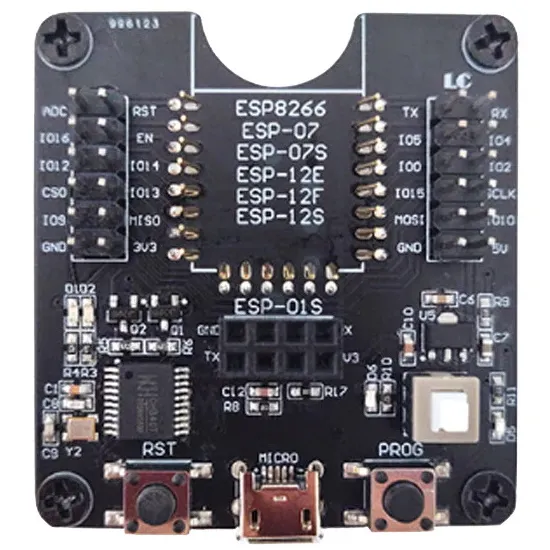
You can purchase (AliExpress, Amazon, Banggood) a test board for effortless flashing.
Running
For normal operation connect EN to VCC (pull high) to enable the chip. GPIO9 has an internal pullup and it needs to be high on power up for the module to boot so try and avoid that pin (similar to GPIO0 on ESP8266).
ESP32’s are power hungry on boot and the USB to serial adapter might not be able to provide enough power for that. Use a stable 3.3v power supply that can supply more than 500 mA.