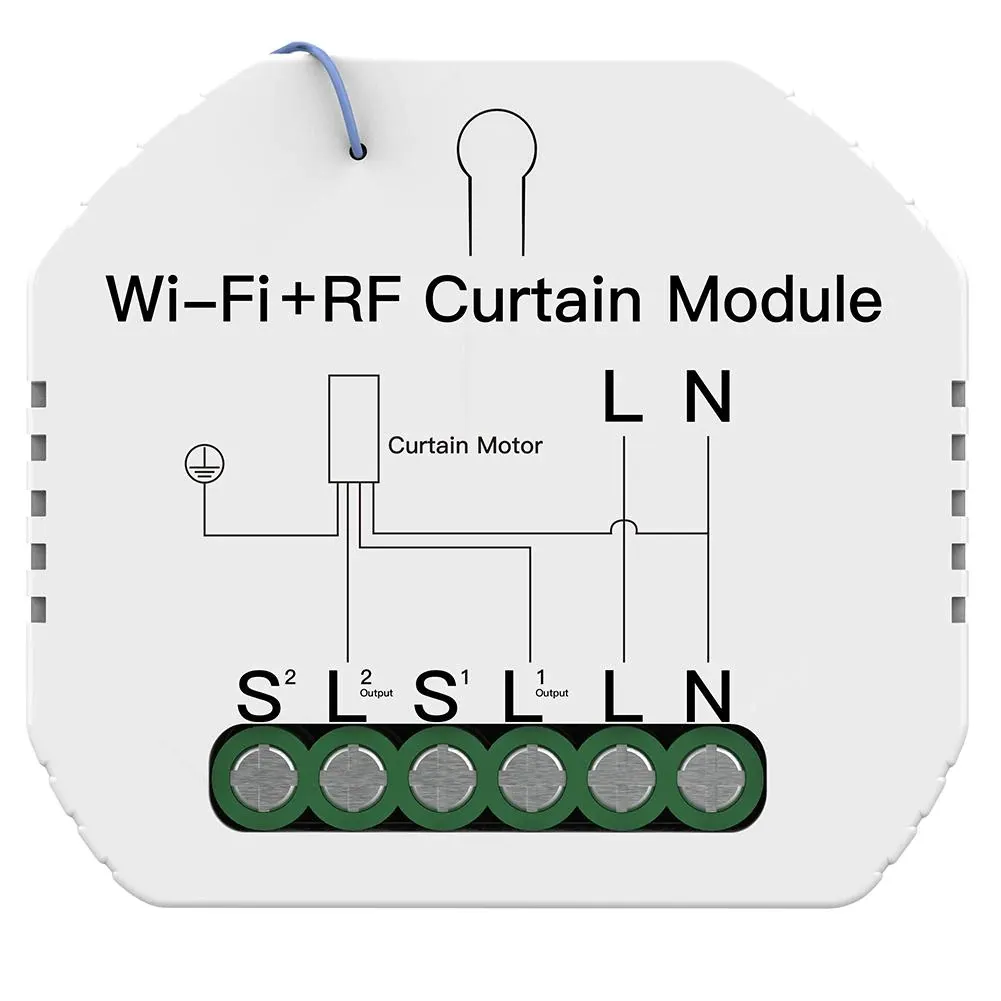
Available from:
Aliexpress.com
Aliexpress.com
Manufacturer:
Moeshouse.com
Install method:
Replace module
| GPIO # | Component |
|---|---|
| GPIO00 | User |
| GPIO01 | User |
| GPIO02 | User |
| GPIO03 | LedLink |
| GPIO04 | Button 1 |
| GPIO05 | Button 2 |
| GPIO09 | User |
| GPIO10 | User |
| GPIO12 | Relay 2 |
| GPIO13 | Button 1 |
| GPIO14 | Relay 1 |
| GPIO15 | User |
| GPIO16 | User |
| GPIO17 | User |
{"NAME":"MS-108WR","GPIO":[1,1,1,544,32,33,1,1,225,32,224,1,1,1],"FLAG":0,"BASE":18}
NOTE: This module comes with a WB3S that needs to be replaced by an ESP-02S or TYWE2S. (Try not to use and ESP-12e/f because it is not pin compatible, and it wont fit, youll have to modify the case, and probably will have to remove the RF board since it might cause interference)
Soldering skills: Moderate
First flash the ESP-02S that you are going to use with Tasmota. type in the console:
SO80 1
ShutterRelay1 1
Interlock 1,2
Interlock ON
ShutterButton1 1 up 0
ShutterButton1 2 down 0
Proceed to open the curtain module, no tool is needed, just pry open with fingers, if you can’t usea a small flat tool to open it.
Take out the board and desolder the perpendicular board attached to it which contains, on top, the RF board, and bellow, the WIFI module WB3S.
Once the sub bard is desoldered, proceed to desolder the WIFI module at the bottom.
Replace that board with the ESP-02S or TYWE2S that you flashed before and resolder everything back toghether.


