


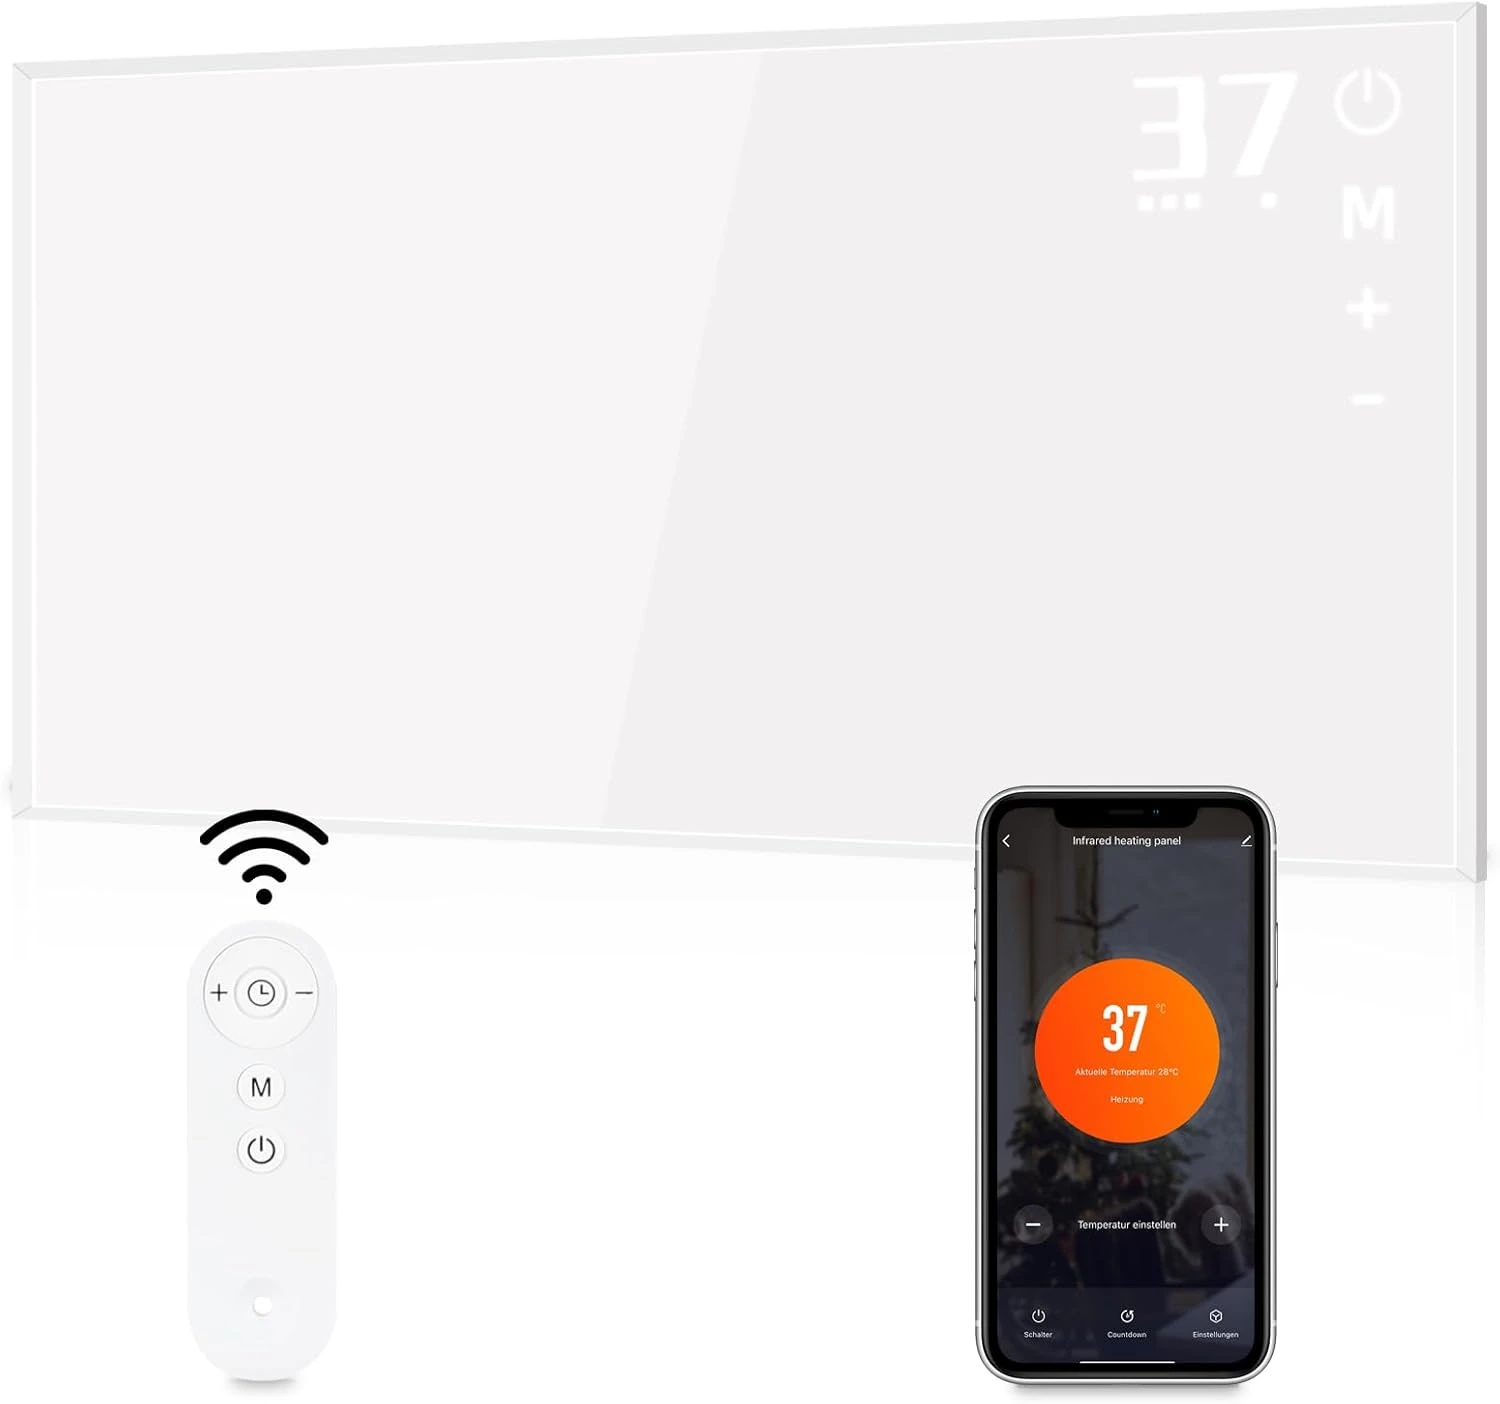
Available from:
Amzn.eu
Install method:
Replace module
| GPIO # | Component |
|---|---|
| GPIO00 | None |
| GPIO01 | Tuya Tx |
| GPIO02 | None |
| GPIO03 | Tuya Rx |
| GPIO04 | None |
| GPIO05 | None |
| GPIO09 | None |
| GPIO10 | None |
| GPIO12 | None |
| GPIO13 | None |
| GPIO14 | None |
| GPIO15 | None |
| GPIO16 | None |
| GPIO17 | None |
{"NAME":"Mursche Infrared Heater","GPIO":[0,2272,0,2304,0,0,0,0,0,0,0,0,0,0],"FLAG":0,"BASE":54}
Module Replacement
!!! Unplug the Device before you open the Device !!!
Open the junction box on the Backside of the Heater by unscrew 4 screws with Philips Heads (PH2).
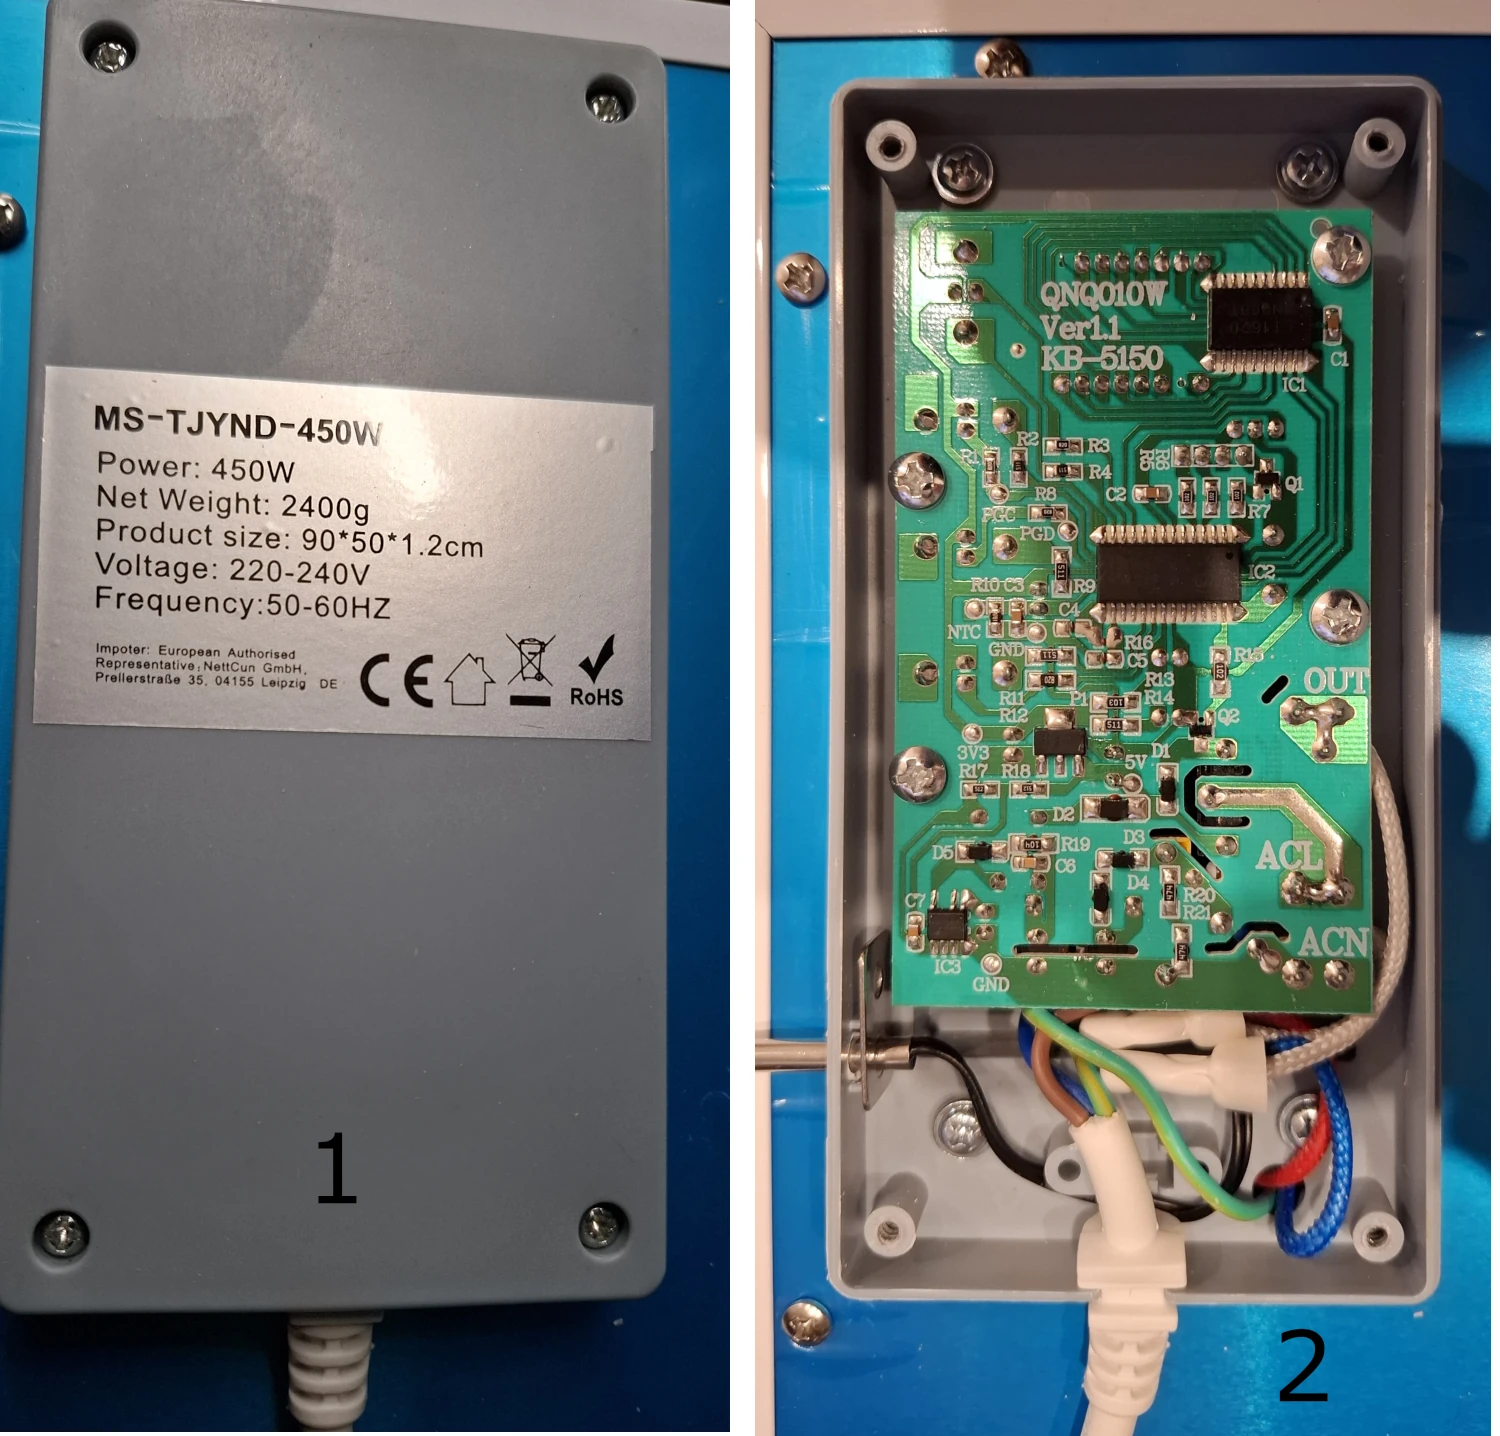
Now you have access to the Mainboard QNQ010W Ver1.1 with the Powersupply Model KB-5150.
With another 4 Philips Screws you can lift the mainboard up, and the WBR3 Chip will show up.
The WBR3 is simple connected with a 2,54mm Pin Header to the Mainboard.
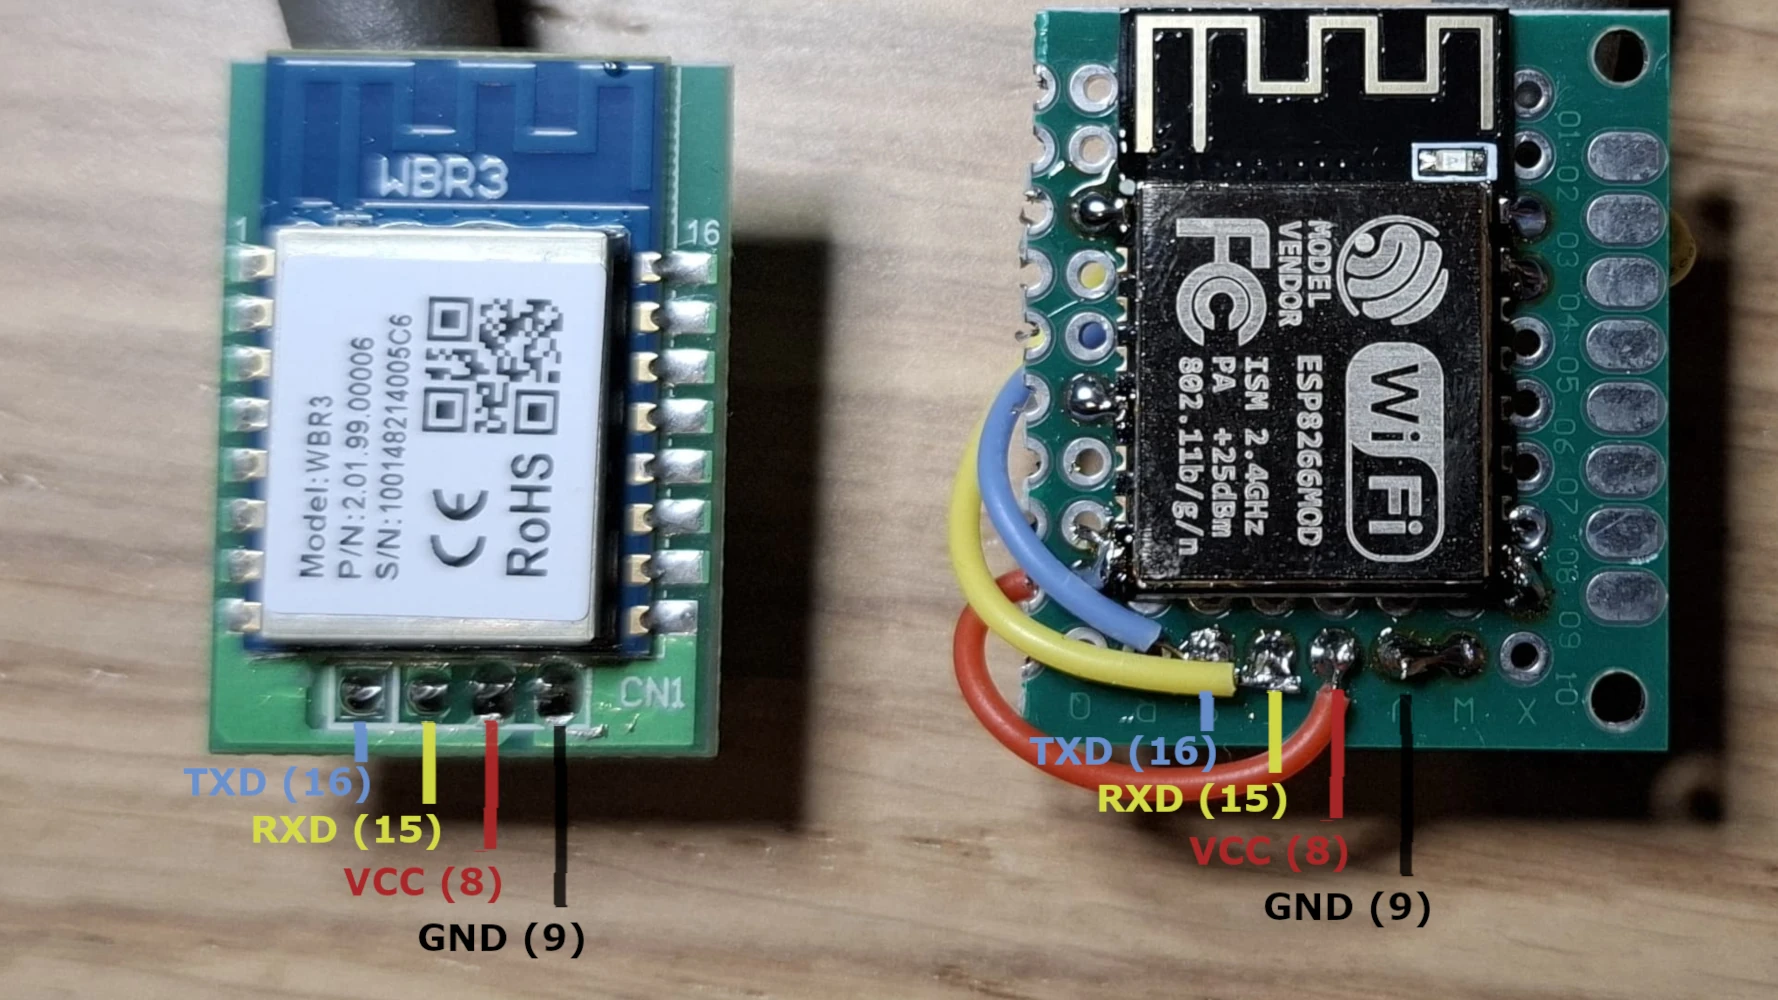
Pinout (Topview, from Left to Right)
TXD- Pin 16RXD- Pin 15VCC- Pin 8GND- Pin 9
So use an ESP-12S or ESP-12F and a 2,54 mm breadboard with max 30 x 25 mm size to replace the Original WBR3 Chip.
Functions
dpID 1controls device power - turns the device on offdpID 2setted target temperaturedpID 3reports ambient temperature using the built in temperature sensordpID 11UNKNOWNdpID 19timer set in hours, shown in hours on display (up to 9 hours)0- timer off1- timer 1 hr2- timer 2 hrs3- timer 3 hrs4- timer 4 hrs5- timer 5 hrs6- timer 6 hrs7- timer 7 hrs8- timer 8 hrs9- timer 9 hrs
dpID 20shown timer in minutes
Configuration
backlog tuyamcu 11,1; tuyamcu 71,3; tuyamcu 72,2; tuyamcu 81,20; tuyamcu 61,19; tempres 0; tuyatempsetres 0; TuyaEnumList 1,9;
Relay1maps todpID1for power control
In the webUI an ambient temperature sensor, temperature set sensor and a Timer1 will be shown.
Set temperature using TuyaSend2 2,x where x is the desired temperature (0 decimals allowed).
Label webUI buttons:
webbutton1 Power;
TuyaEnum
As of Tasmota 9.1.0.1 #9769 it is possible to map Type4 dpIDs (such as dpID4) to an Enum fn ID.
Map dpID4 to Enum1 fnID:
TuyaMCU 61,19
Set Enum1 range (in this case the max enum is 9).
TuyaEnumList 1,9
Now you can control the timer with TuyaEnum1 <x> where x is a value between 0 and 9 (0 decimals allowed).
If you try a number outside the Enum1 range it will throw an error.