


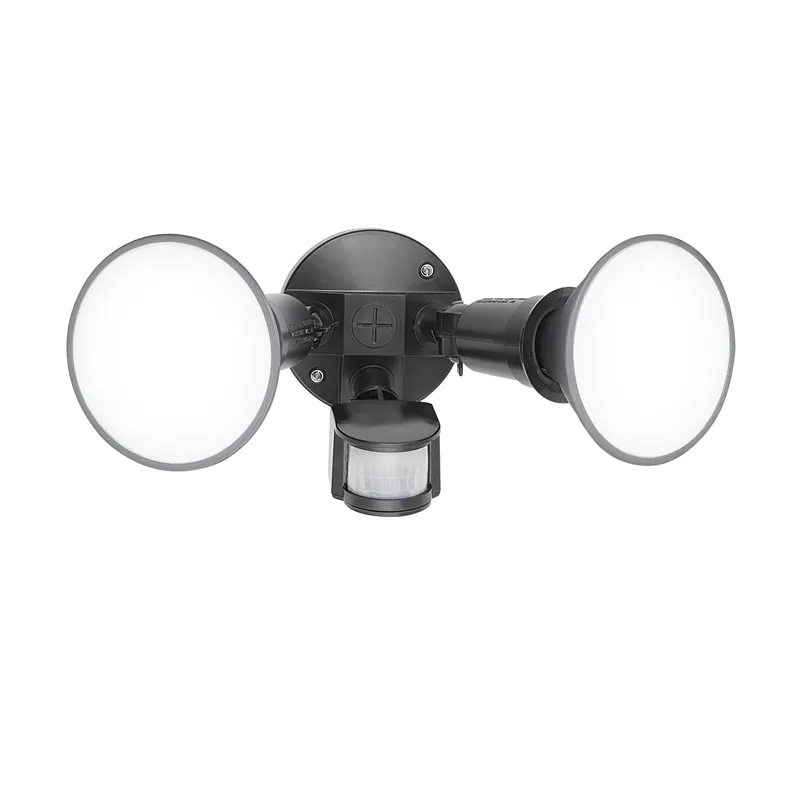
Available from:
Bunnings.com.au
Bunnings.co.nz
Install method:
Replace module
| GPIO # | Component |
|---|---|
| GPIO00 | None |
| GPIO01 | Tuya Tx |
| GPIO02 | None |
| GPIO03 | Tuya Rx |
| GPIO04 | None |
| GPIO05 | None |
| GPIO09 | None |
| GPIO10 | None |
| GPIO12 | None |
| GPIO13 | None |
| GPIO14 | None |
| GPIO15 | None |
| GPIO16 | None |
| FLAG | None |
{"NAME":"Arlec MAL315HA","GPIO":[0,107,0,108,0,0,0,0,0,0,0,0,0],"FLAG":0,"BASE":54}
Features
Light duration: How long in seconds the light stays on after motion is detected. From user manual: min 10 sec to max 15 min.
Sensitivity adjustment (amount of movement required to trigger):
- Min = most sensitive
- max = only detect large motion.
To tune, start with at minimum, and have someone move while increasing sensitivity
Light level (lux adjustment):
- Min = day or night
- max = night only For normal operation, adjust appropriately (e.g.: wait until the time of day, set sensitivity to most sensitive, lux to max, and while someone walks around reduce lux threshold until it triggers).
Automatic and manual override mode.
One hour countdown to revert from manual to auto. To use, set to manual mode then activate countdown.
Configuration
This product uses the TUYA WB3S which is NOT supported by Tasmota, but which is pin-compatible with ESP-12 modules:
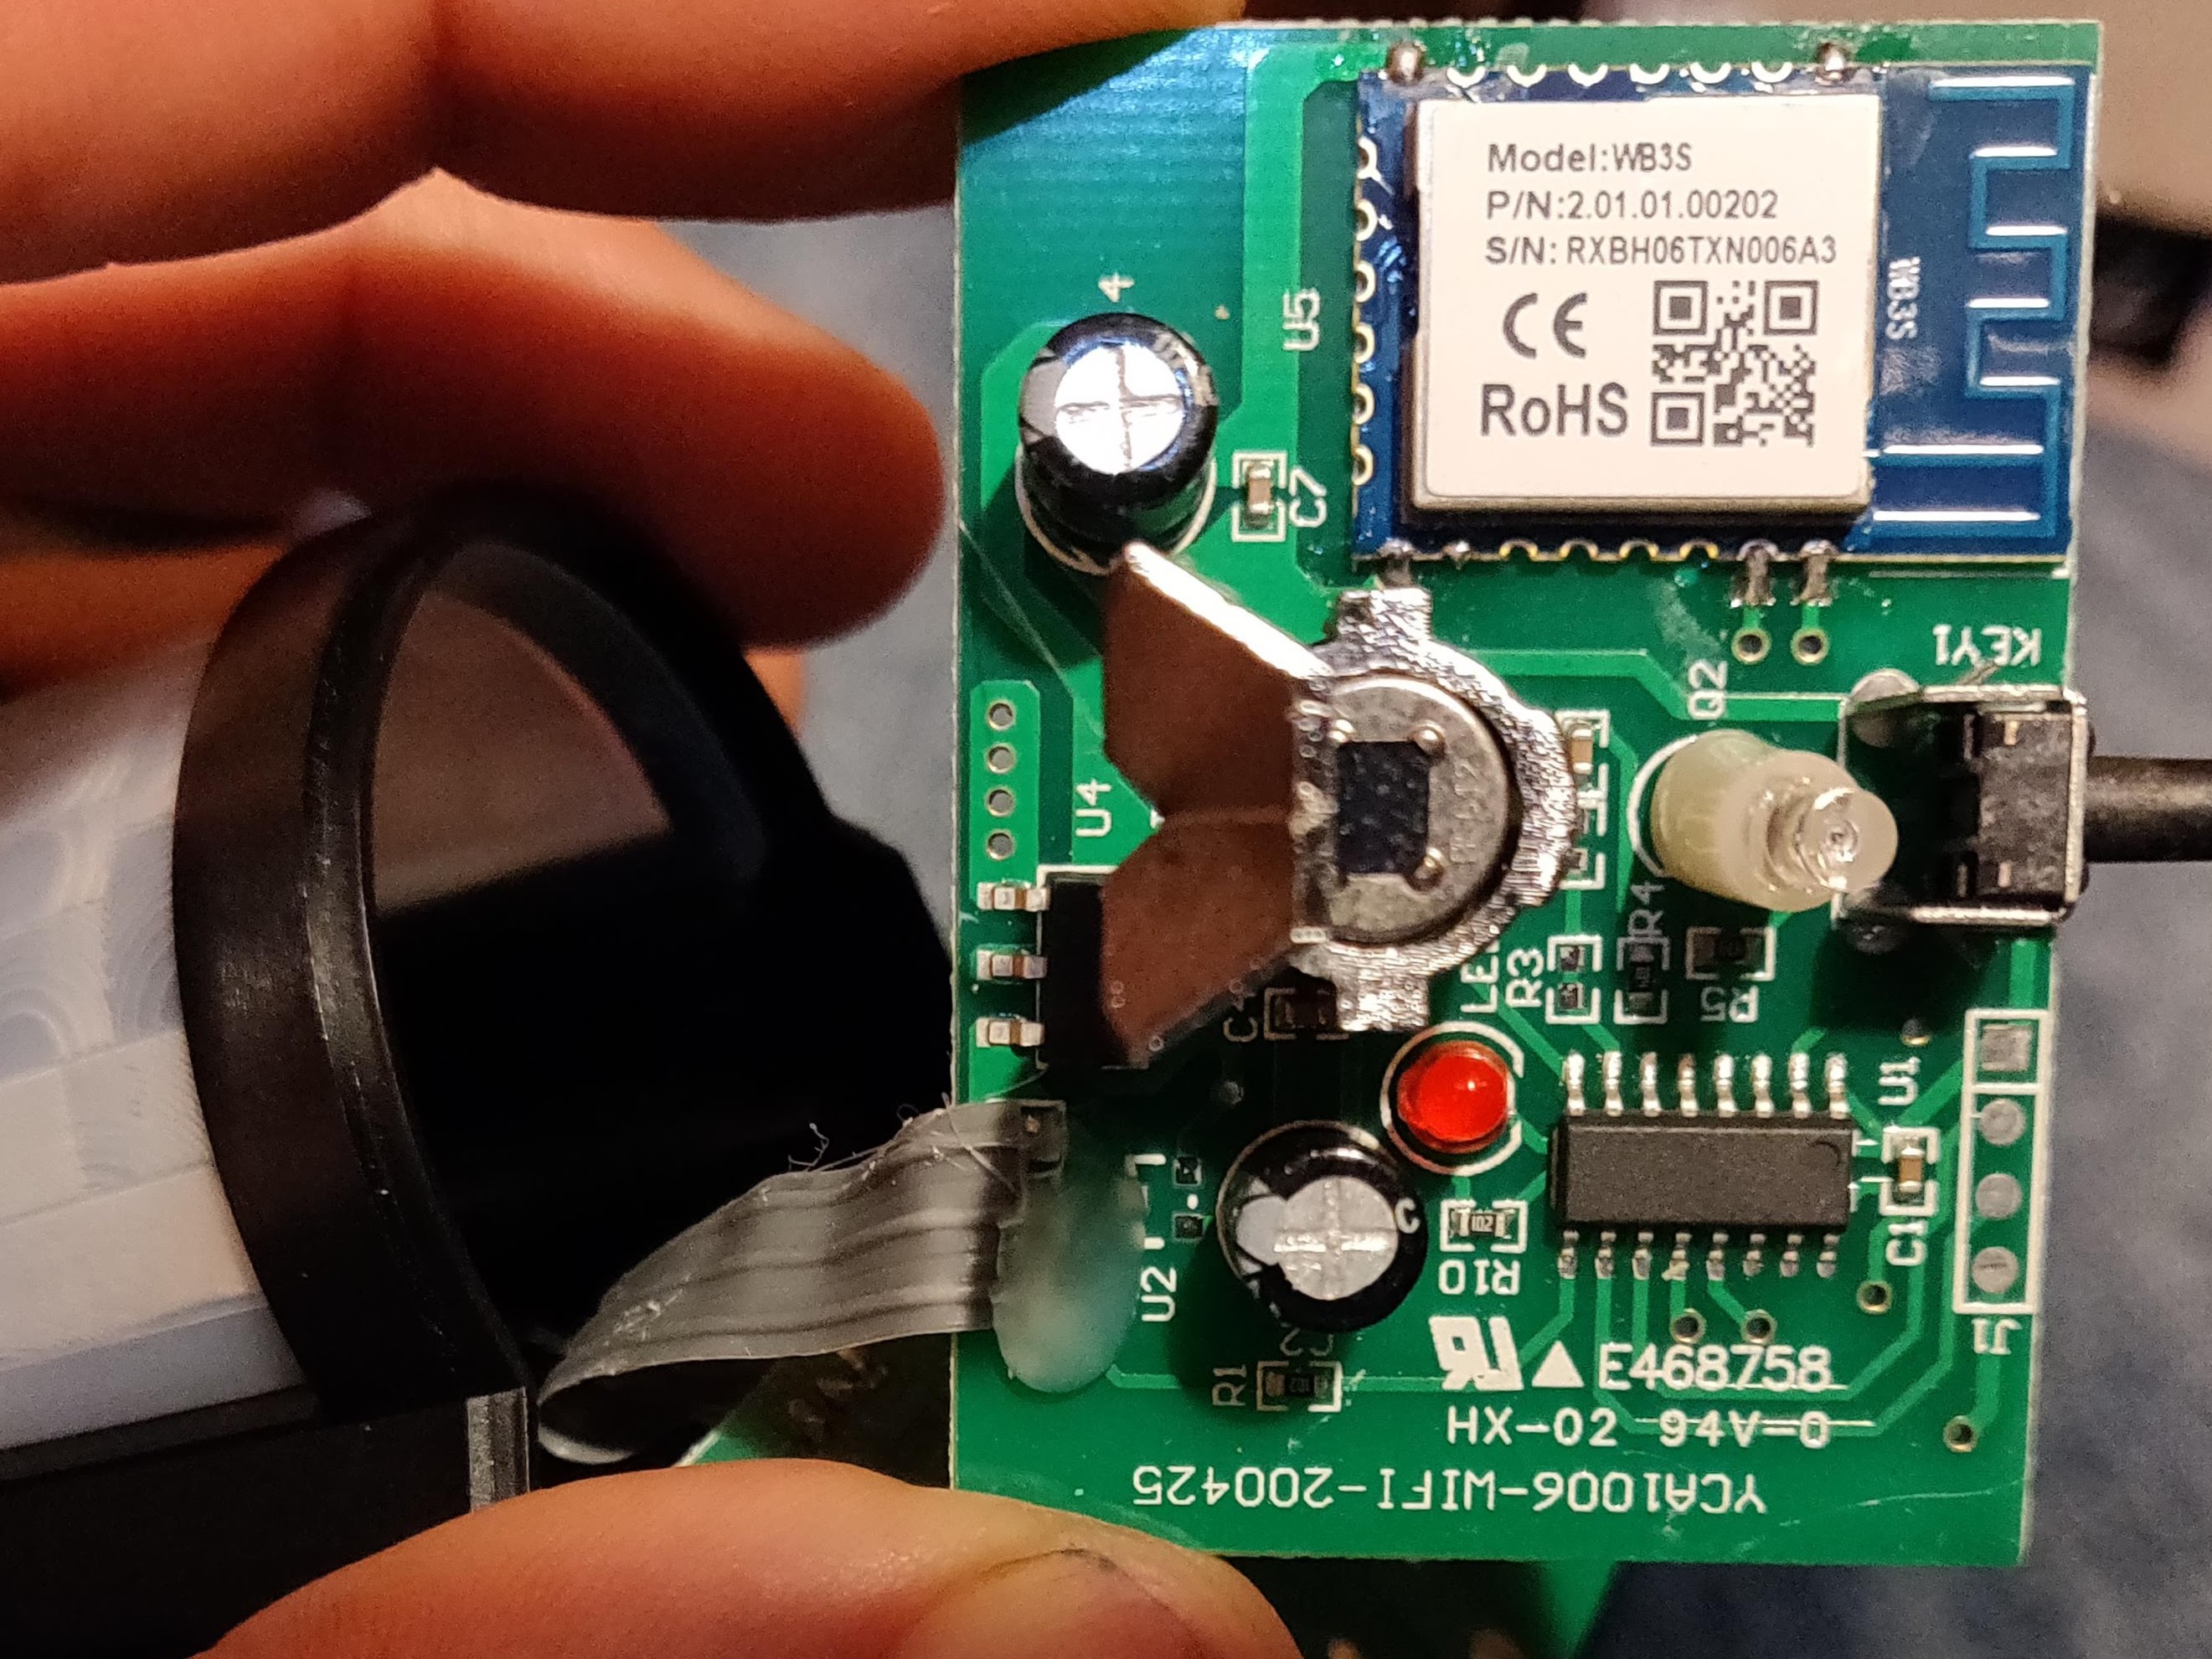
It is possible to replace the WB3S with an ESP-12 that has Tasmota flashed to it. Note that you also need to connect GPIO15 to GND, and EN to VCC for the ESP module to boot, so solder links to achieve that:
The bulk of the functionality is controlled via a TuyaMCU module, which reports as:
MCU Product ID: {"p":"pxyhz90upglpoedu","v":"1.0.0","m":0}
Enable TuyaMCU via:
Module 54
Configure dpID 101 as enum with two values, and dpID 102 as relay
TuyaMCU 61,101
TuyaEnumList 1,2
TuyaMCU 11,102
To make Tasmota button toggle between manual and auto:
Rule1 ON TuyaReceived#Data=55AA03070005660100010177 DO Rule2 0 ENDON ON TuyaReceived#Data=55AA0307000565040001027A DO Rule2 1 ENDON ON TuyaReceived#Data=55AA03070005660100010076 DO Rule2 1 ENDON
Rule2 ON Power1#State=0 DO TuyaSend4 101,1 ENDON ON Power1#State=1 DO TuyaSend4 101,2 ENDON
Rule1 1
(Rule2 provides the manual/auto toggle, but Rule1 ensures that it is only available when the light has not been activated by auto mode)
A similar rule set allows the toggle to switch between auto and manual with the one hour return to auto:
Rule1 ON TuyaReceived#Data=55AA03070005660100010177 DO Rule2 0 ENDON ON TuyaReceived#Data=55AA0307000565040001027A DO Rule2 1 ENDON ON TuyaReceived#Data=55AA03070005660100010076 DO Rule2 1 ENDON
Rule2 ON Power1#State=0 DO TuyaSend4 101,1 ENDON ON Power1#State=1 DO Backlog TuyaSend4 101,2; TuyaSend1 106,1 ENDON
Rule1 1
The MCU appears to forget settings on reboot, so if you change any of the below settings, you may want a rule to save them, e.g.:
Rule3 ON System#Boot DO Backlog TuyaSend2 104,30; TuyaSend2 105,4000 ENDON
Rule3 1
Tuya dpID list
| dpID | Data Type | Function |
|---|---|---|
| 101 | enum | Mode: 0=Off, 1=Auto, 2=Manual |
| 102 | binary | relay status |
| 103 | integer | Sensitivity (e.g.: 0 most sensitive, 3 misses a close wave, 5 quite coarse) |
| 104 | integer | Light duration in seconds (e.g.: 10) |
| 105 | integer | Light level adjustment (e.g.: 0 trigger any time, 500 blocked by torch, 4000 blocked by indoor light) |
| 106 | binary | Send 1 while in manual mode to activate one hour countdown to revert to auto |