


Available from:
Amazon.de
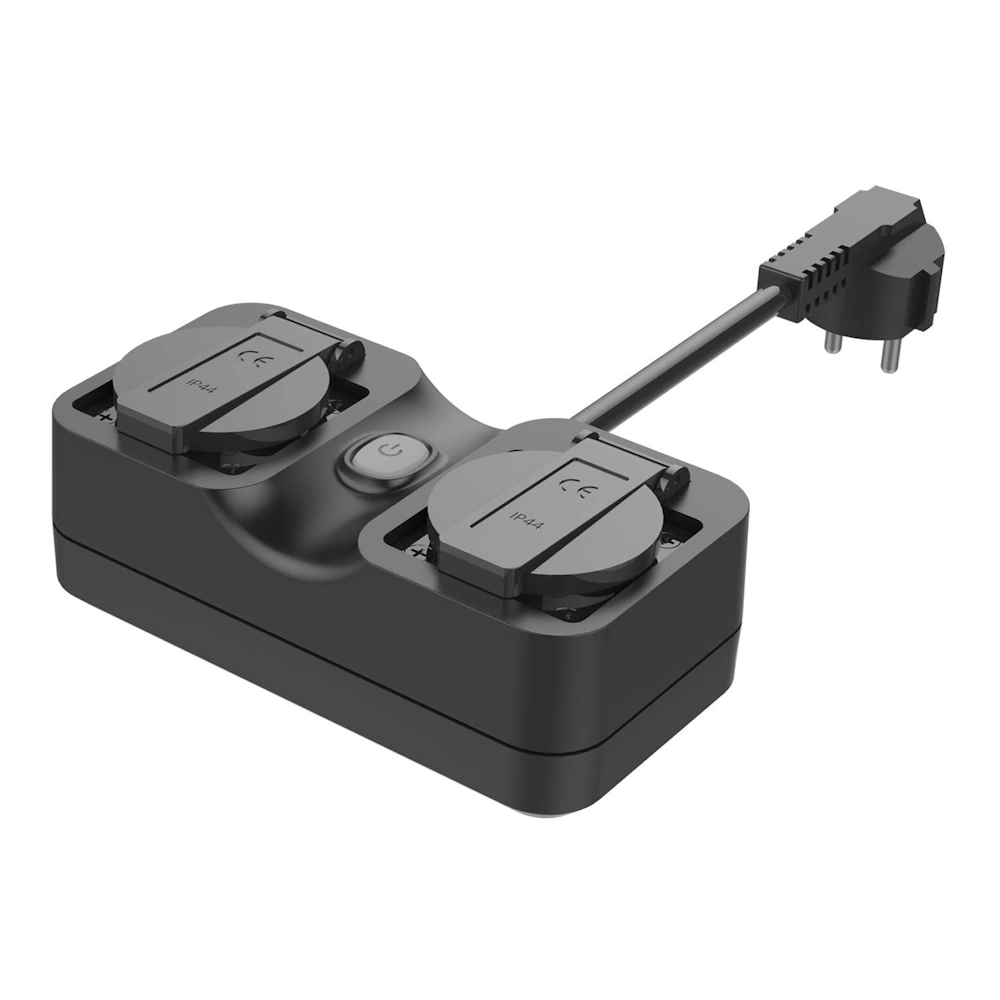
Manufacturer:
Meross.com
Install method:
Replace module
| GPIO # | Component |
|---|---|
| GPIO00 | None |
| GPIO01 | Led_i 1 |
| GPIO02 | None |
| GPIO03 | Led_i 1 |
| GPIO04 | Relay 2 |
| GPIO05 | None |
| GPIO09 | None |
| GPIO10 | None |
| GPIO12 | Relay 1 |
| GPIO13 | LedLinki |
| GPIO14 | Button 1 |
| GPIO15 | None |
| GPIO16 | None |
| GPIO17 | None |
{"NAME":"MSS620","GPIO":[0,320,0,320,225,0,0,0,224,576,32,0,0,0],"FLAG":0,"BASE":18}blakadder10 when buying from meross.com for a 10% discount.
This device uses
MRE3S
module which needs to be replaced with
ESP8685-WROOM-01, ESP-12, ESP-C3-12F, ESP-12H, ESPC2-12 or ESP8684-WROOM-01C. Read more about module replacement in a detailed guide.
This device can be modified with ESP-12S module. I recommend preparing the module with flashing and configuring Tasmota with the given template. Then you need to open the device. Remove 4 case screws and use some force to open the housing. Then remove the 3 or 4 screws holding the PCB. Take out the board as good as possible and desolder the original Meross WiFi-module with hot air. Using Flux and tinning joints with leadfree solder is recommended before using hot air. Make sure to protect nearby components with heat resistant tape. Then solder prepared ESP-12S module on, test the device (be careful with wiring and 230V, shock danger), and put it together.
I have seen different PCB revisions of this device, you may have to switch some GPIOs for assigned functions if the given template doesn’t work for you.