


Available from:
Amazon.de
Webshop.nedis.com
Manufacturer:
Nedis.com
Install method:
Replace module
| GPIO # | Component |
|---|---|
| GPIO00 | Button 1 |
| GPIO01 | None |
| GPIO02 | None |
| GPIO03 | None |
| GPIO04 | HLW8012 CF |
| GPIO05 | HLWBL CF1 |
| GPIO09 | None |
| GPIO10 | None |
| GPIO12 | HLWBL SELi |
| GPIO13 | Led_i 1 |
| GPIO14 | Relay 1 |
| GPIO15 | None |
| GPIO16 | None |
| GPIO17 | None |
{"NAME":"WIFIPO120FWT","GPIO":[32,0,0,0,2688,2656,0,0,2624,320,224,0,0,0],"FLAG":0,"BASE":49}{"NAME":"WIFIPO120FWT","GPIO":[17,0,0,0,133,132,0,0,131,56,21,0,0],"FLAG":0,"BASE":49}This device now comes with a Wi-Fi module incompatible with Tasmota
For more accurate energy consumption measurements this device requires power monitoring calibration.This device uses WB3S module which needs to be replaced with ESP8685-WROOM-01, ESP-12, ESP-C3-12F, ESP-12H, ESPC2-12 or ESP8684-WROOM-01C. Read more about module replacement in a detailed guide.
Hardware Revision
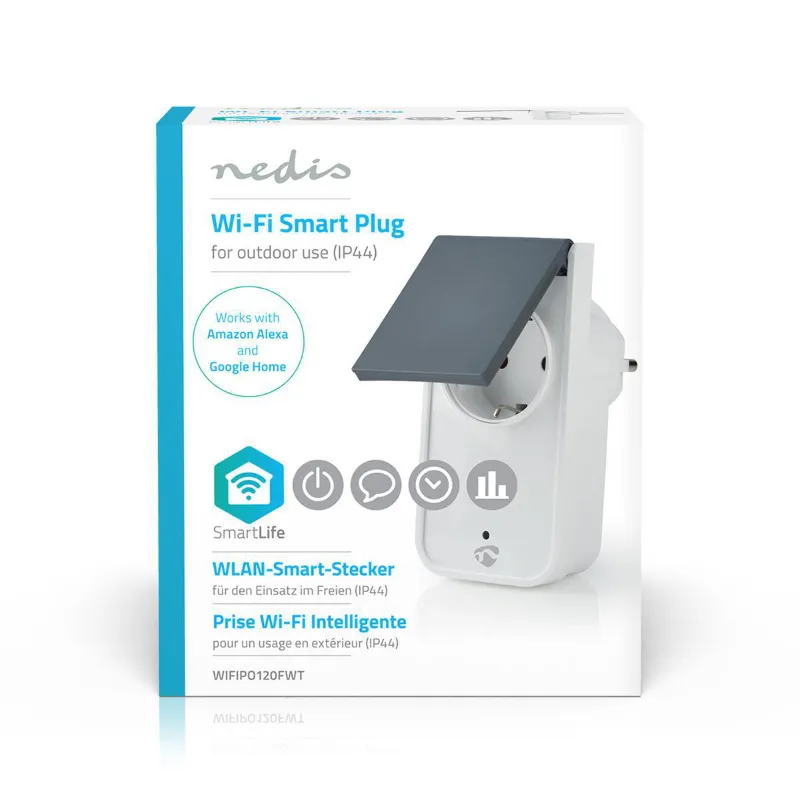
Boxes with visible Alexa logo have the new version with the WB3S chip.

New template for these devices: {"NAME":"WIFIPO120FWT","GPIO":[32,0,0,0,2688,2656,0,0,2624,320,224,0,0,0],"FLAG":0,"BASE":49}
Opening
Remove the two security screws on the backside. Pry open from the top of the connector rounding on the backside. Two plastic clamps holding it together at the top and at the bottom. A bit of force is needed. When opened, remove the four screws from the PCB and the soldering points are clearly marked and accessible at the bottom PCB.