


Available from:
Aliexpress.com
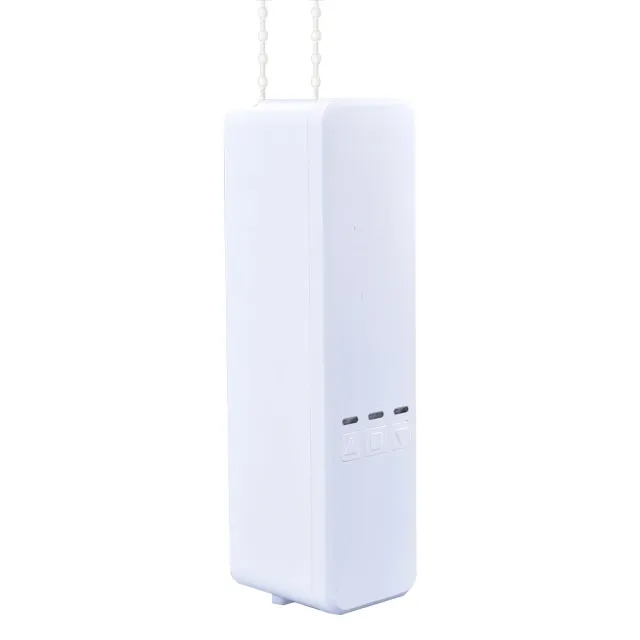
Install method:
Replace module
| GPIO # | Component |
|---|---|
| GPIO00 | None |
| GPIO01 | Tuya Tx |
| GPIO02 | None |
| GPIO03 | Tuya Rx |
| GPIO04 | None |
| GPIO05 | None |
| GPIO09 | None |
| GPIO10 | None |
| GPIO12 | None |
| GPIO13 | None |
| GPIO14 | None |
| GPIO15 | None |
| GPIO16 | None |
| GPIO17 | None |
{"NAME":"Zemismart Blind WBR3","GPIO":[0,2272,0,2304,0,0,0,0,0,0,0,0,0,0],"FLAG":0,"BASE":54,"CMND":"TuyaMCU 11,7|TuyaMCU 21,2"}{"NAME":"Zemismart Blind TYWE3S","GPIO":[1,1,1,1,1,1,0,0,1,2304,1,2272,1,0],"FLAG":0,"BASE":54}{"NAME":"Zemismart Blin","GPIO":[255,255,255,255,255,255,0,0,255,108,255,107,255],"FLAG":0,"BASE":54}
Newer units come with a WBR3 module, in which case, it can be replaced with a ESP-12F module. In this case, use the template above that sets the TuyaTx/TuyaRx functions on GPIO1/GPIO3 respectively (it also incorporates the two TuyaMCU mappings described below).
TuyaMCU 11,7 to move the relay to an uncontrollable dpId. WebUI toggle will have no effect.
TuyaMCU 21,2 maps the position command to dimmer, will not update position state on its own without the following rule.
Feedback is sent on dpId 3 while the position is controlled using dpId 2. To have regular dimmer updates use:
Rule1 ON TuyaReceived#DpType2Id3 DO Dimmer %value% ENDON
Enable the rule with Rule1 1. The rule watches dimmer status dpId and forwards them to Dimmer command.
This setup might create some micromovements on reboot or certain value dimmer commands due to difference in how the MCU calculates position value!
Functions
dpID 1 motor control: 0 = open / 1 = stop / 2 = close / 3 = continue
dpID 2 set position: 0 .. 100
dpID 3 current position: 0 .. 100 *report only
dpID 5 set motor direction: 0 = forward / 1 = back
dpID 7 working state: 0 = opening / 1 = closing *report only, only appears when using remote
dpID 10 error notification: 0x00 = ok / ??? = error` *report only